In documentation, images are instructions, not just pretty decorations. If you don’t manage them properly, you will eventually confuse your readers with outdated screenshots, and you’ll drive yourself crazy trying to manually update the same picture across fifty different pages. The ultimate Confluence cheat code is creating a single "Image Library" so you only ever have to update a screenshot once.
Poorly chosen, poorly edited, or misplaced images will hurt users' trust at the worst possible moment – when they need your help.
Let’s explore how you can transform screenshots into information elements by mastering Confluence image formatting and management tools. You'll learn to avoid common screenshot mistakes and build scalable image libraries. Whether you’re a solo writer or manage a global team, see how you can level up your visual assets to ensure your documentation stays clear, consistent, and compliant.
Read on to see why Confluence really works as a great content management system for documentation.

Roles of Images in Product Documentation
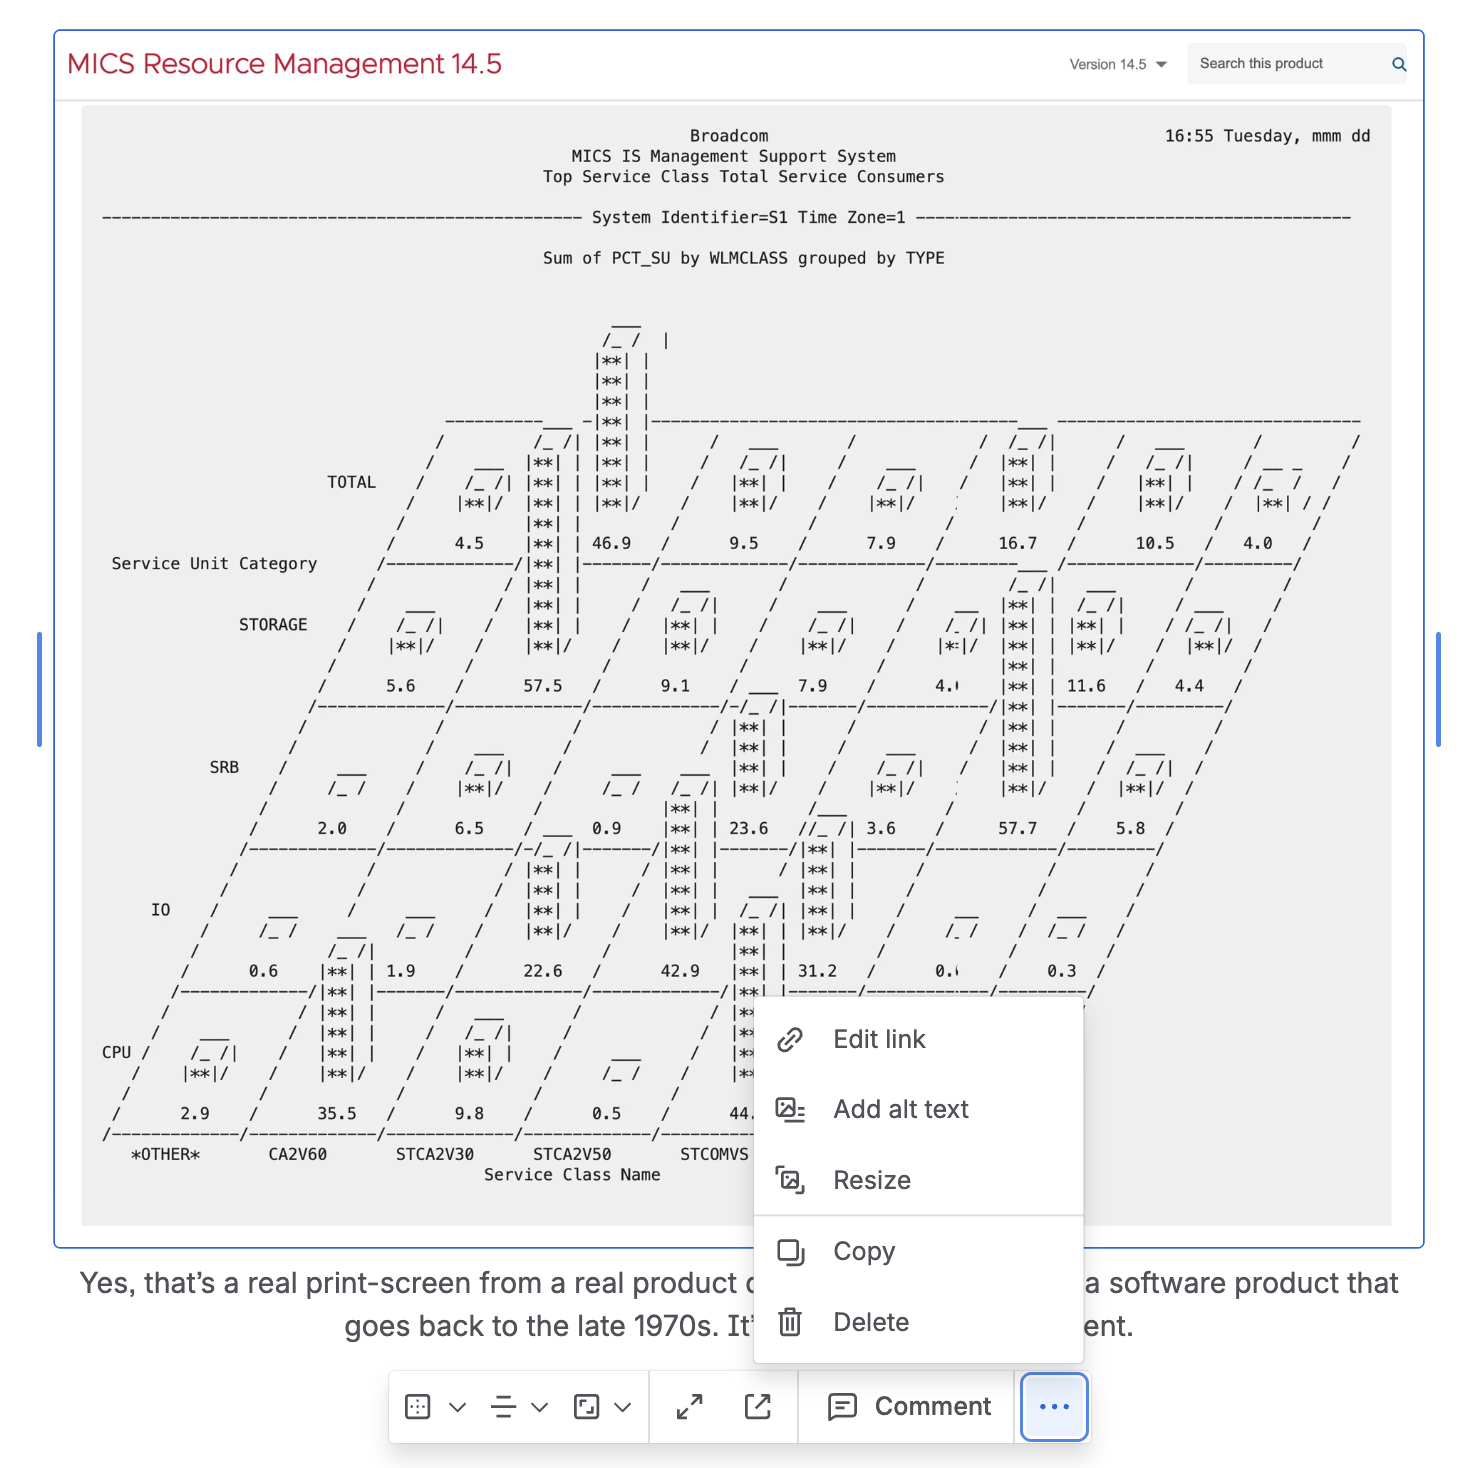
Tech writers have been using visuals (images, screenshots) to make product documentation easier to understand since the dawn of modern computing. There wasn’t much to work with on a mainframe terminal, but you could always ‘print screen’. Or fool around with text editors…
The goals back then were the same as today – help users visualize the text-based information. Understand concepts, follow processes, find the way around in the user interface. An image is not just a visual element. It is an information element.
There are several high-level scenarios for using images in your product documentation:
-
Images are visual companions providing context or details to enhance text.
-
Images carry the main information – and may need text to add details.
-
Infographic – typically combines illustrations with text snippets in a single image.
-
Images provide visual and mental relief. As you’ll see throughout this article 🙂.
Now, let’s look at how you can use native Confluence features to create bonds between images and words.
Confluence and Images
The right visual relationship between the images and the words amplifies the meaning. Confluence gives you many not-so-obvious images formatting options to elevate your content’s impact and value.
Align images with text
A simple formatting trick will align images with the associated text to create a visual bond between the two elements. This is important when you are describing a procedure using a step-by-step guide.
In Confluence, and most ‘word processors’, you can use Shift-Enter to align the image with a specific step in a numbered list. This keeps the image at the same indent level, so your readers can make an immediate connection between the instructions and their actions. If you hit Enter, the list will continue below the image.
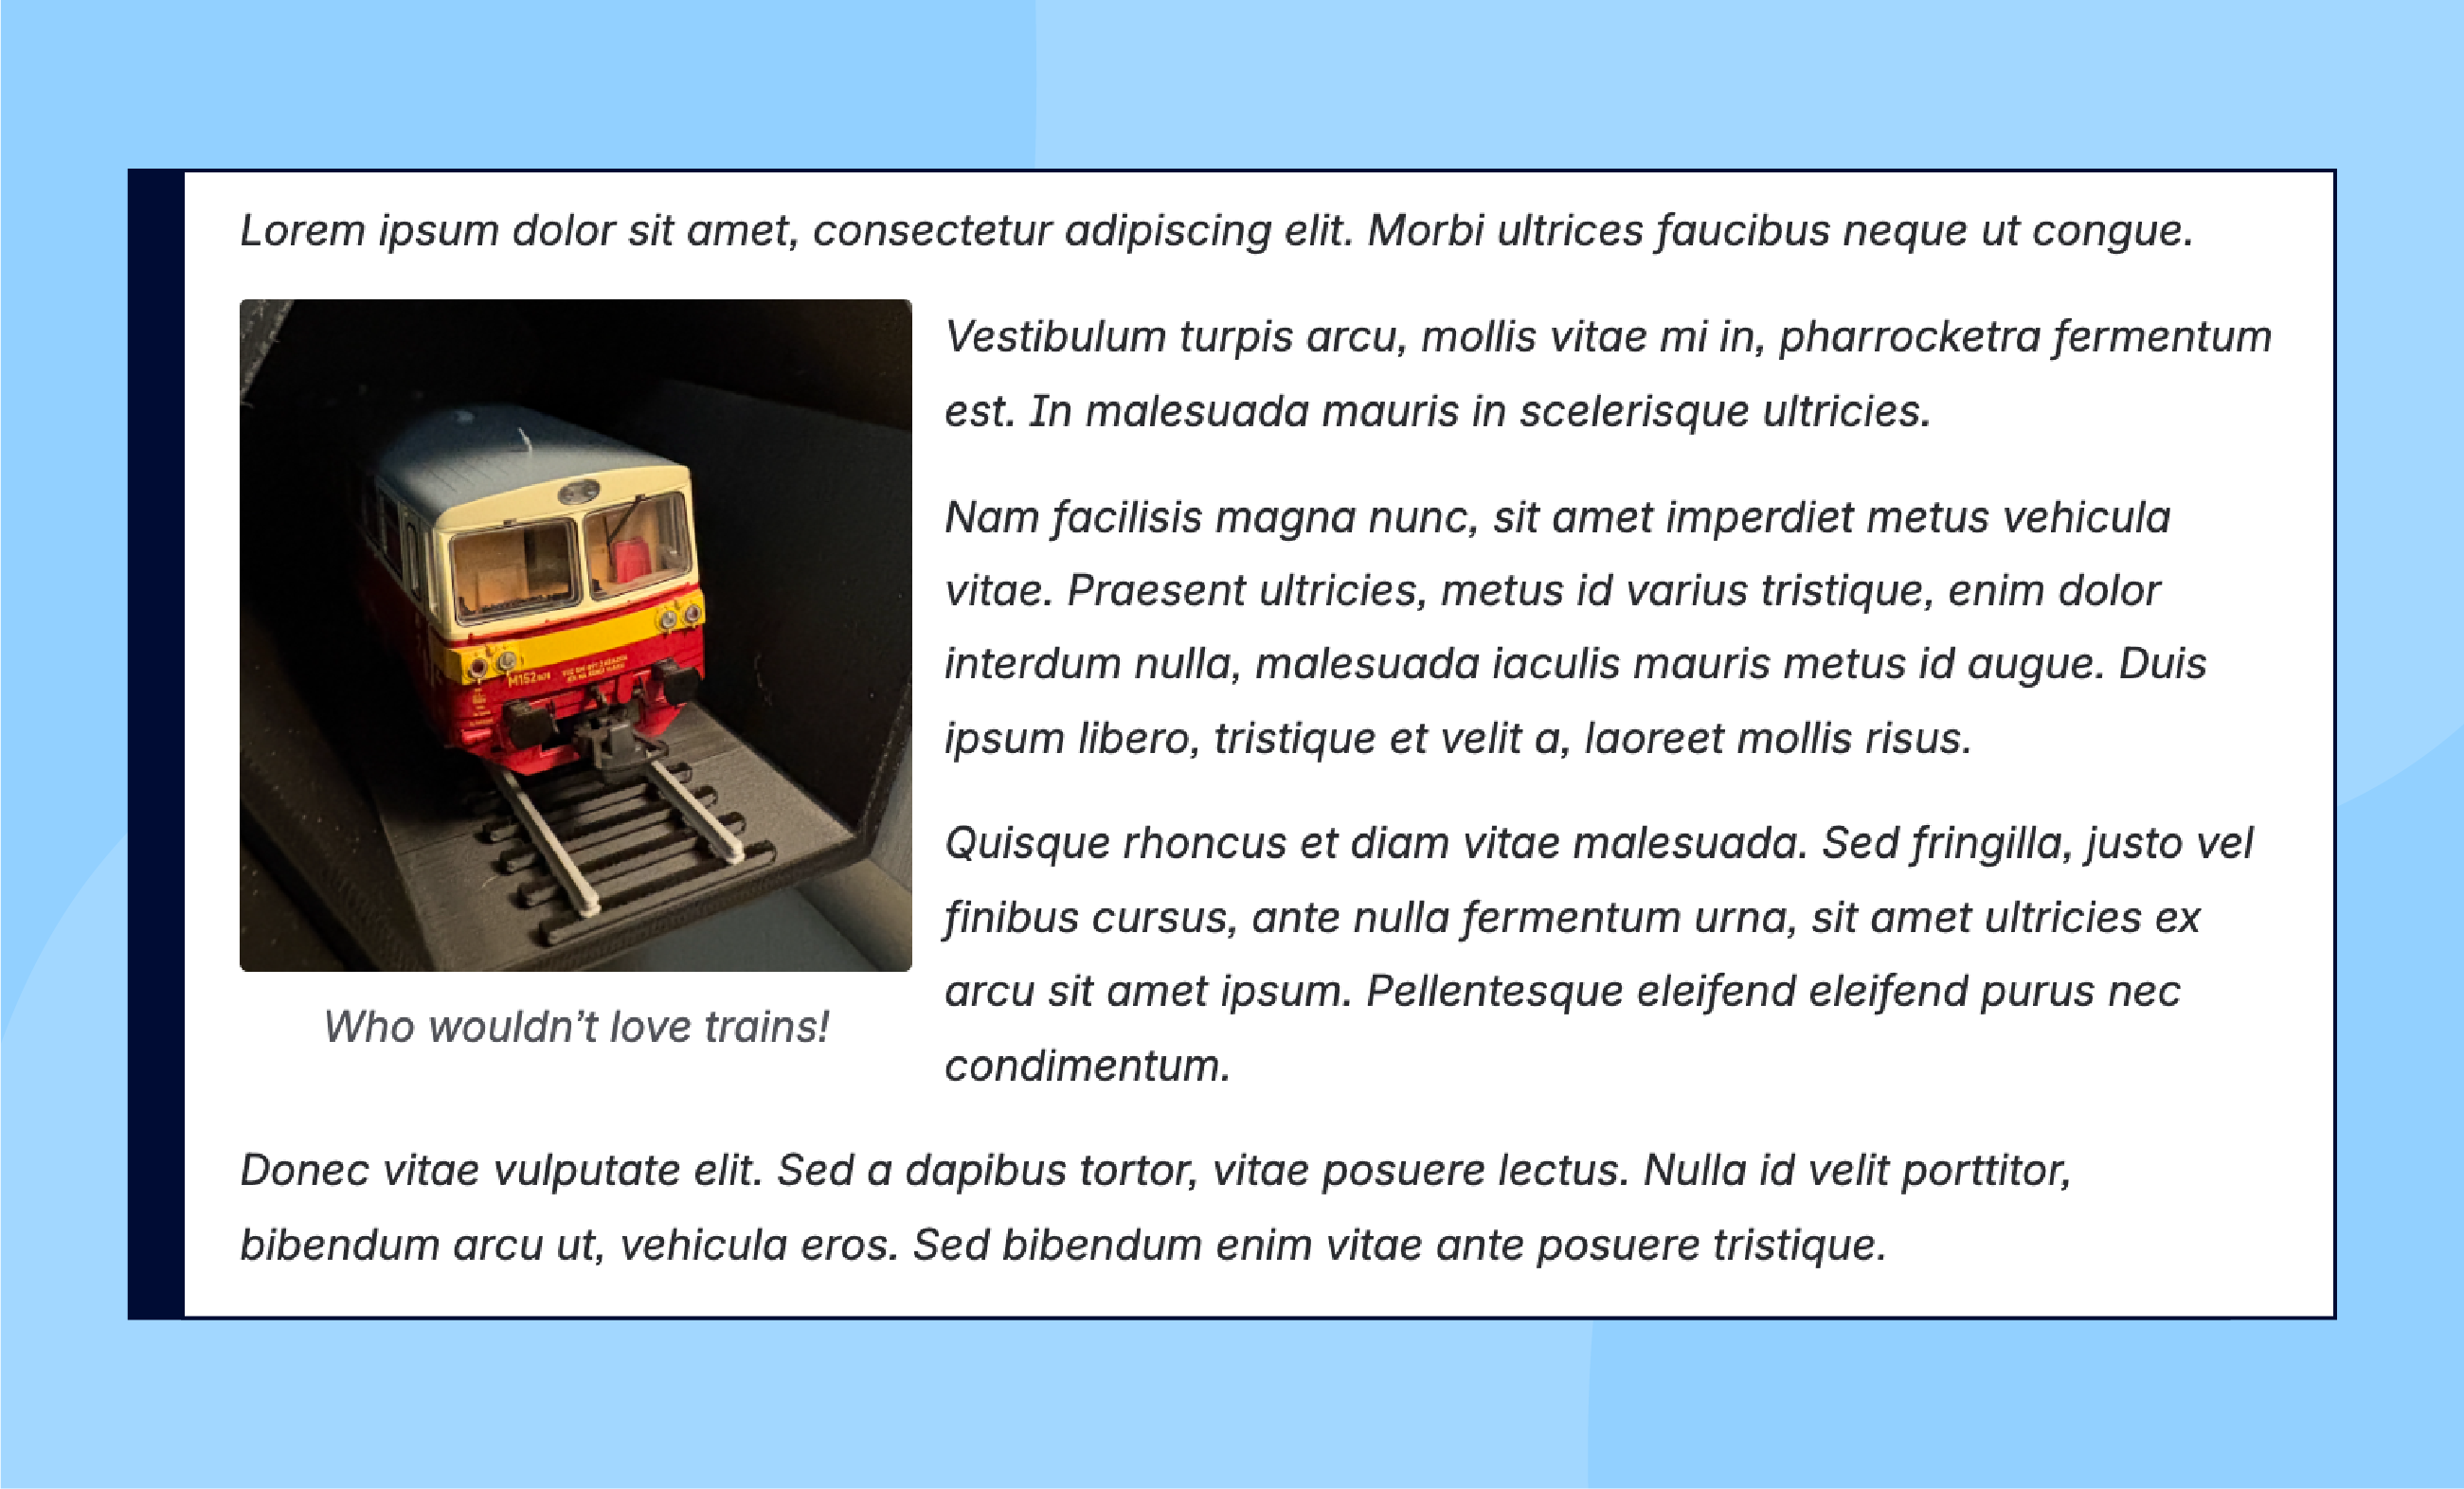
Wrapping
Use the Wrap option to display images next to text. This may be just an aesthetic trick to make large chunks of text easier to read. But you can also align visual and textual information in a manner that does not interrupt the flow of text.
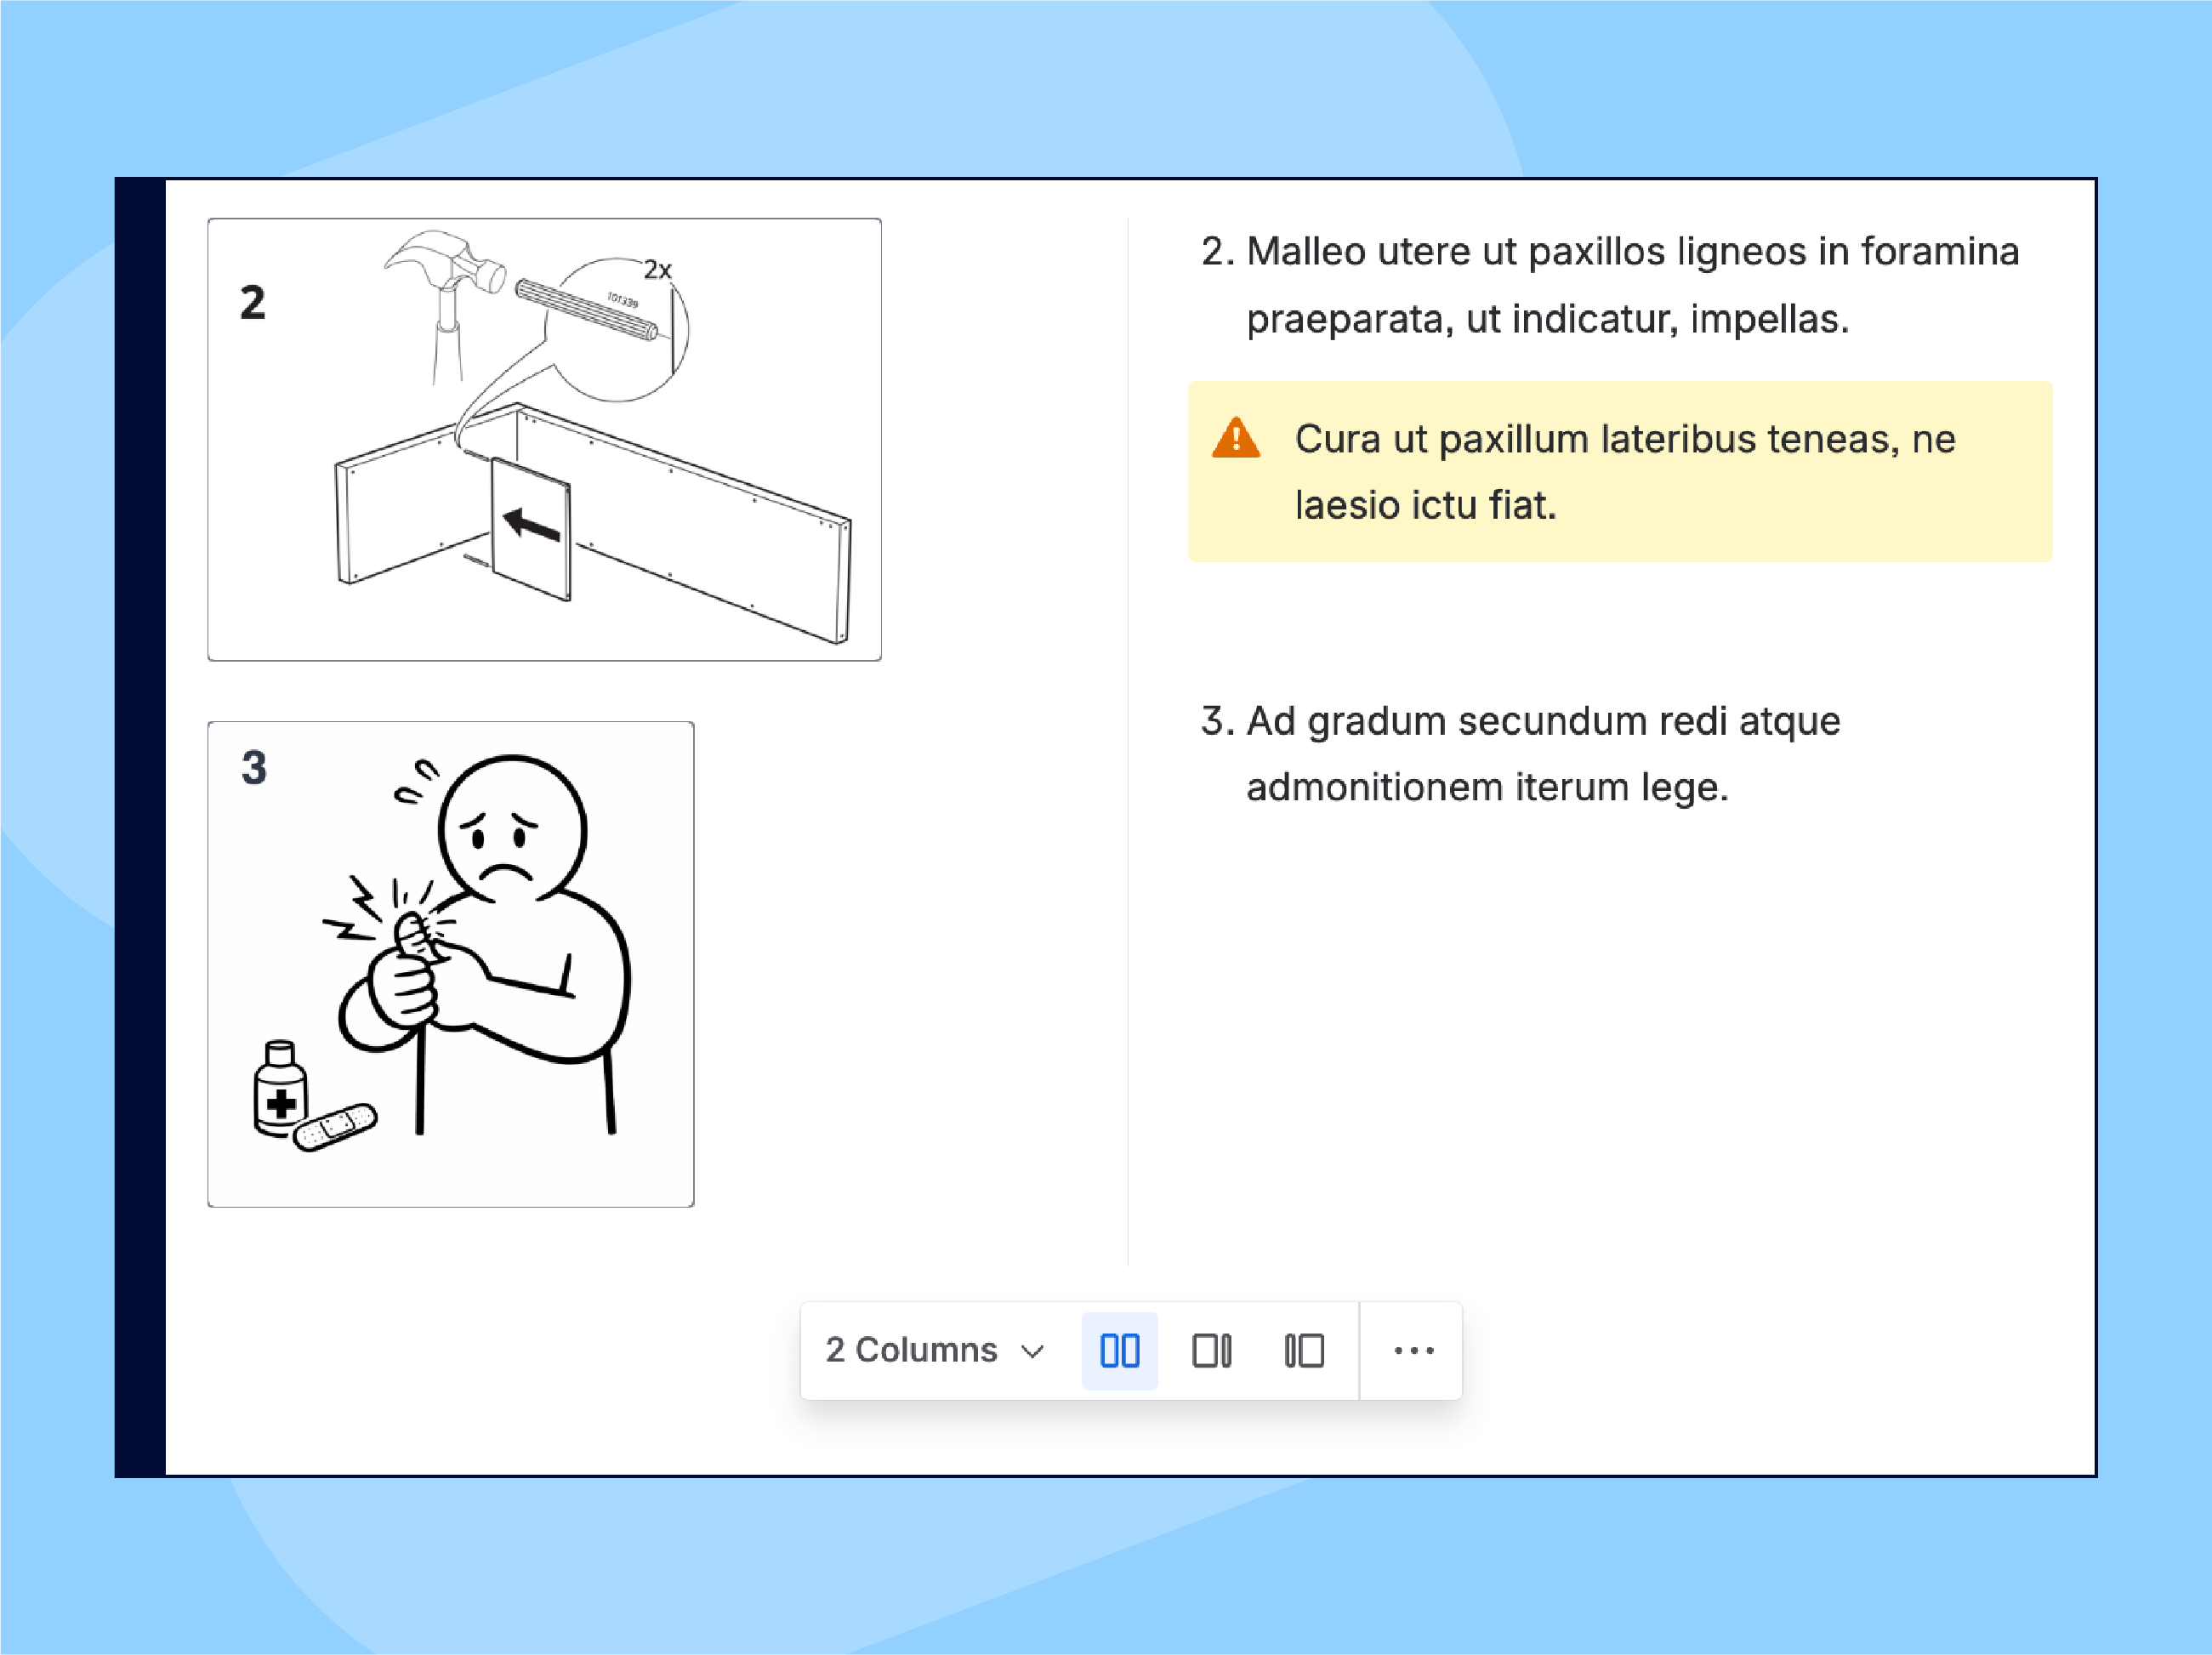
Column arrangement
Use Layouts for side-by-side arrangement of images and text. This turns Confluence into a platform for creating genuine user manuals – from furniture assembly, tools operation, to hardware interfaces.
Confluence gives you several options to boost the information value of your images:
-
Border – color and size
-
Alignment (indent)
-
Size
-
Alt text
-
Caption
-
Hyperlink
Check the Atlassian documentation about displaying images and files to learn more. Now let’s take a closer look at the images themselves.
How to Create Informative Images
Treat images like any other asset in your documentation. They have a role to play and information to carry.
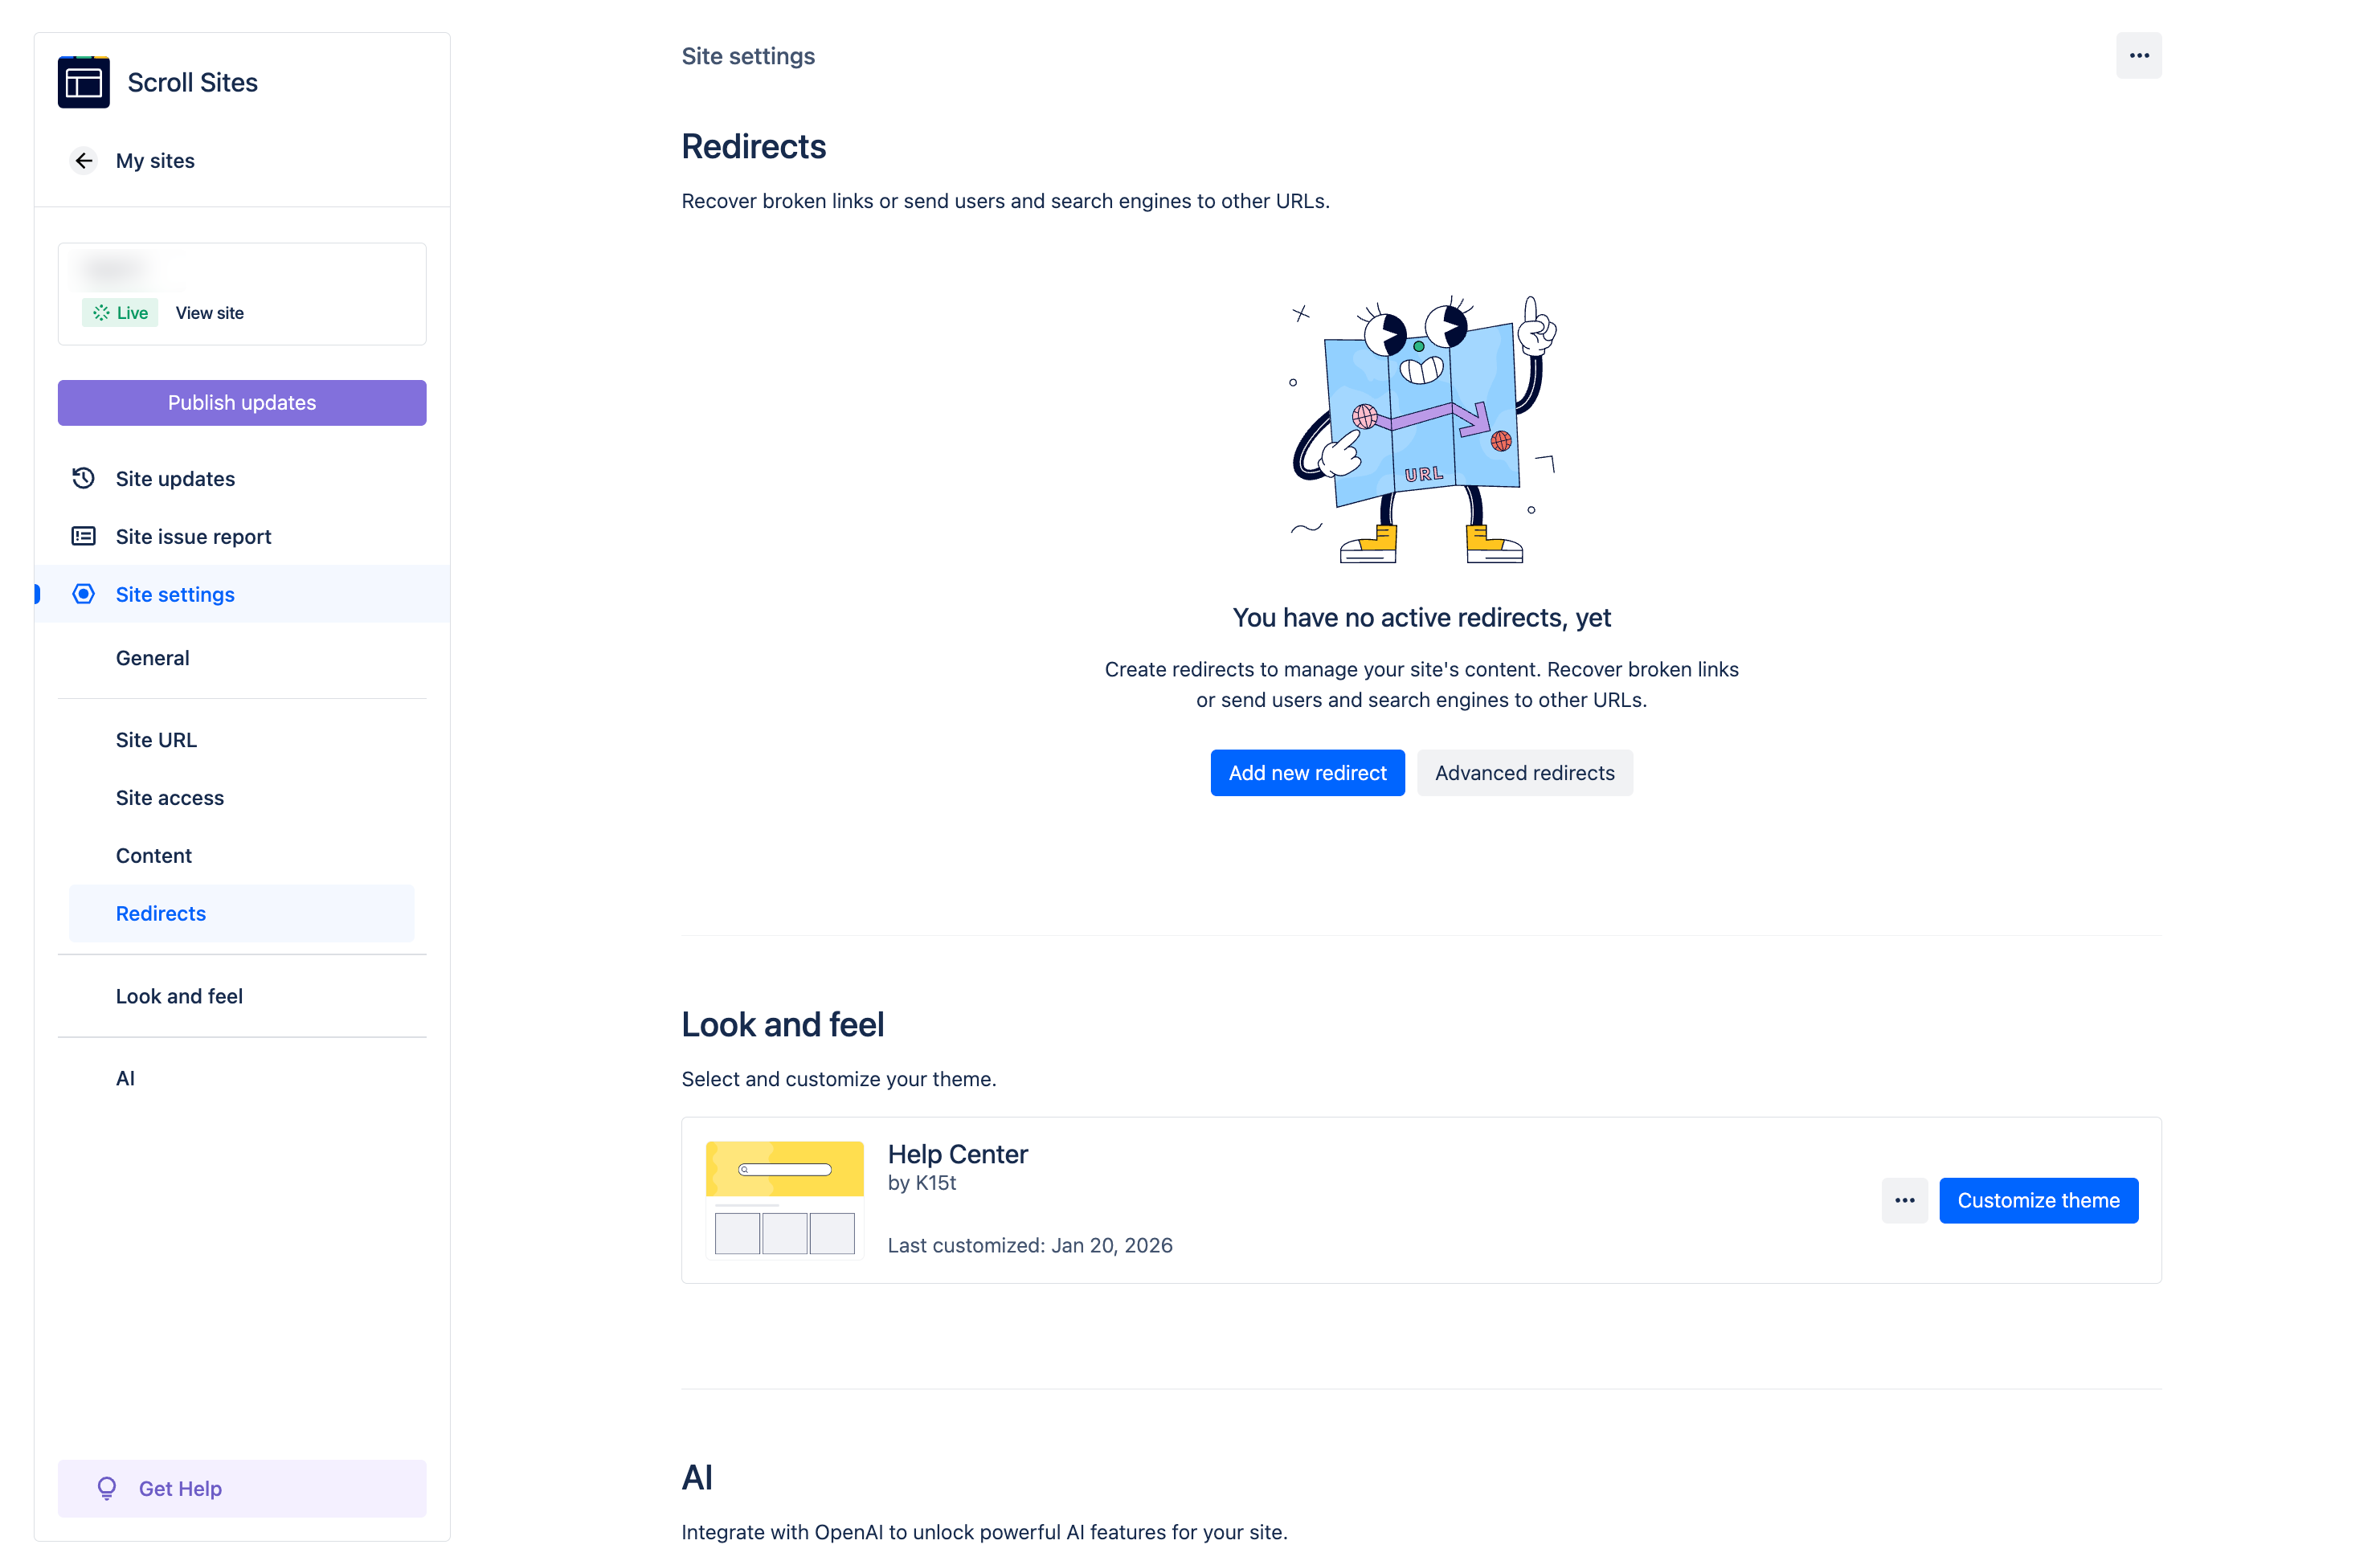
Think about what exactly you want the image to do and say. Should it provide a ‘helicopter’ overview of the home-screen user interface? Focus on a specific element that users should click?
Let’s explore some of the most frequent screenshot sins to put you on the right track.
Sin 1: Taking full-screen captures. Ask yourself if you really need a full screen capture to tell users they need to click Customize theme.
Sin 2: Insisting that all screenshots are of the same size – full page width. Inevitably, this policy will make some text too small too read (see above) and some UI elements comically big.
Solution? There’s no perfect size. A screenshot should provide context specific to the action you expect users to take or to what they need to learn. The golden rule is to aim for balancing context, readability, and staying closely to the real life appearance. Your primary goal is to help users accomplish the task or understand the concept.
Enhance and annotate images
There are scenarios when you must move beyond the Confluence image toolkit and use a dedicated image editing software to direct the reader’s focus to a specific part of the screenshot you took.
The better you think through the concept before you take the screenshot, the less time you spend editing the image. Some tweaks like cropping, blurring, and masking specific elements might be necessary to obscure sensitive information. This is perfectly OK and it shows the reader you took the screenshot in the actual environment. Another frequently used post-production trick is applying a light frame around the image, especially if both the page and the image have a white background (you can do that in Confluence).
To help users focus on a specific section of the image, use additional visual elements, such as arrows, frames, magnifiers… Your screenshot doesn’t have to be fancy but it should look nice and be functional. In other words, it has to convey the right information.
You might be tempted to use your company colors to highlight elements in your screenshots. That’s OK but do so with accessibility in mind. Check the following resources:
Sin 3. A technical writer discovering the Tools menu and going overboard with knowledge...
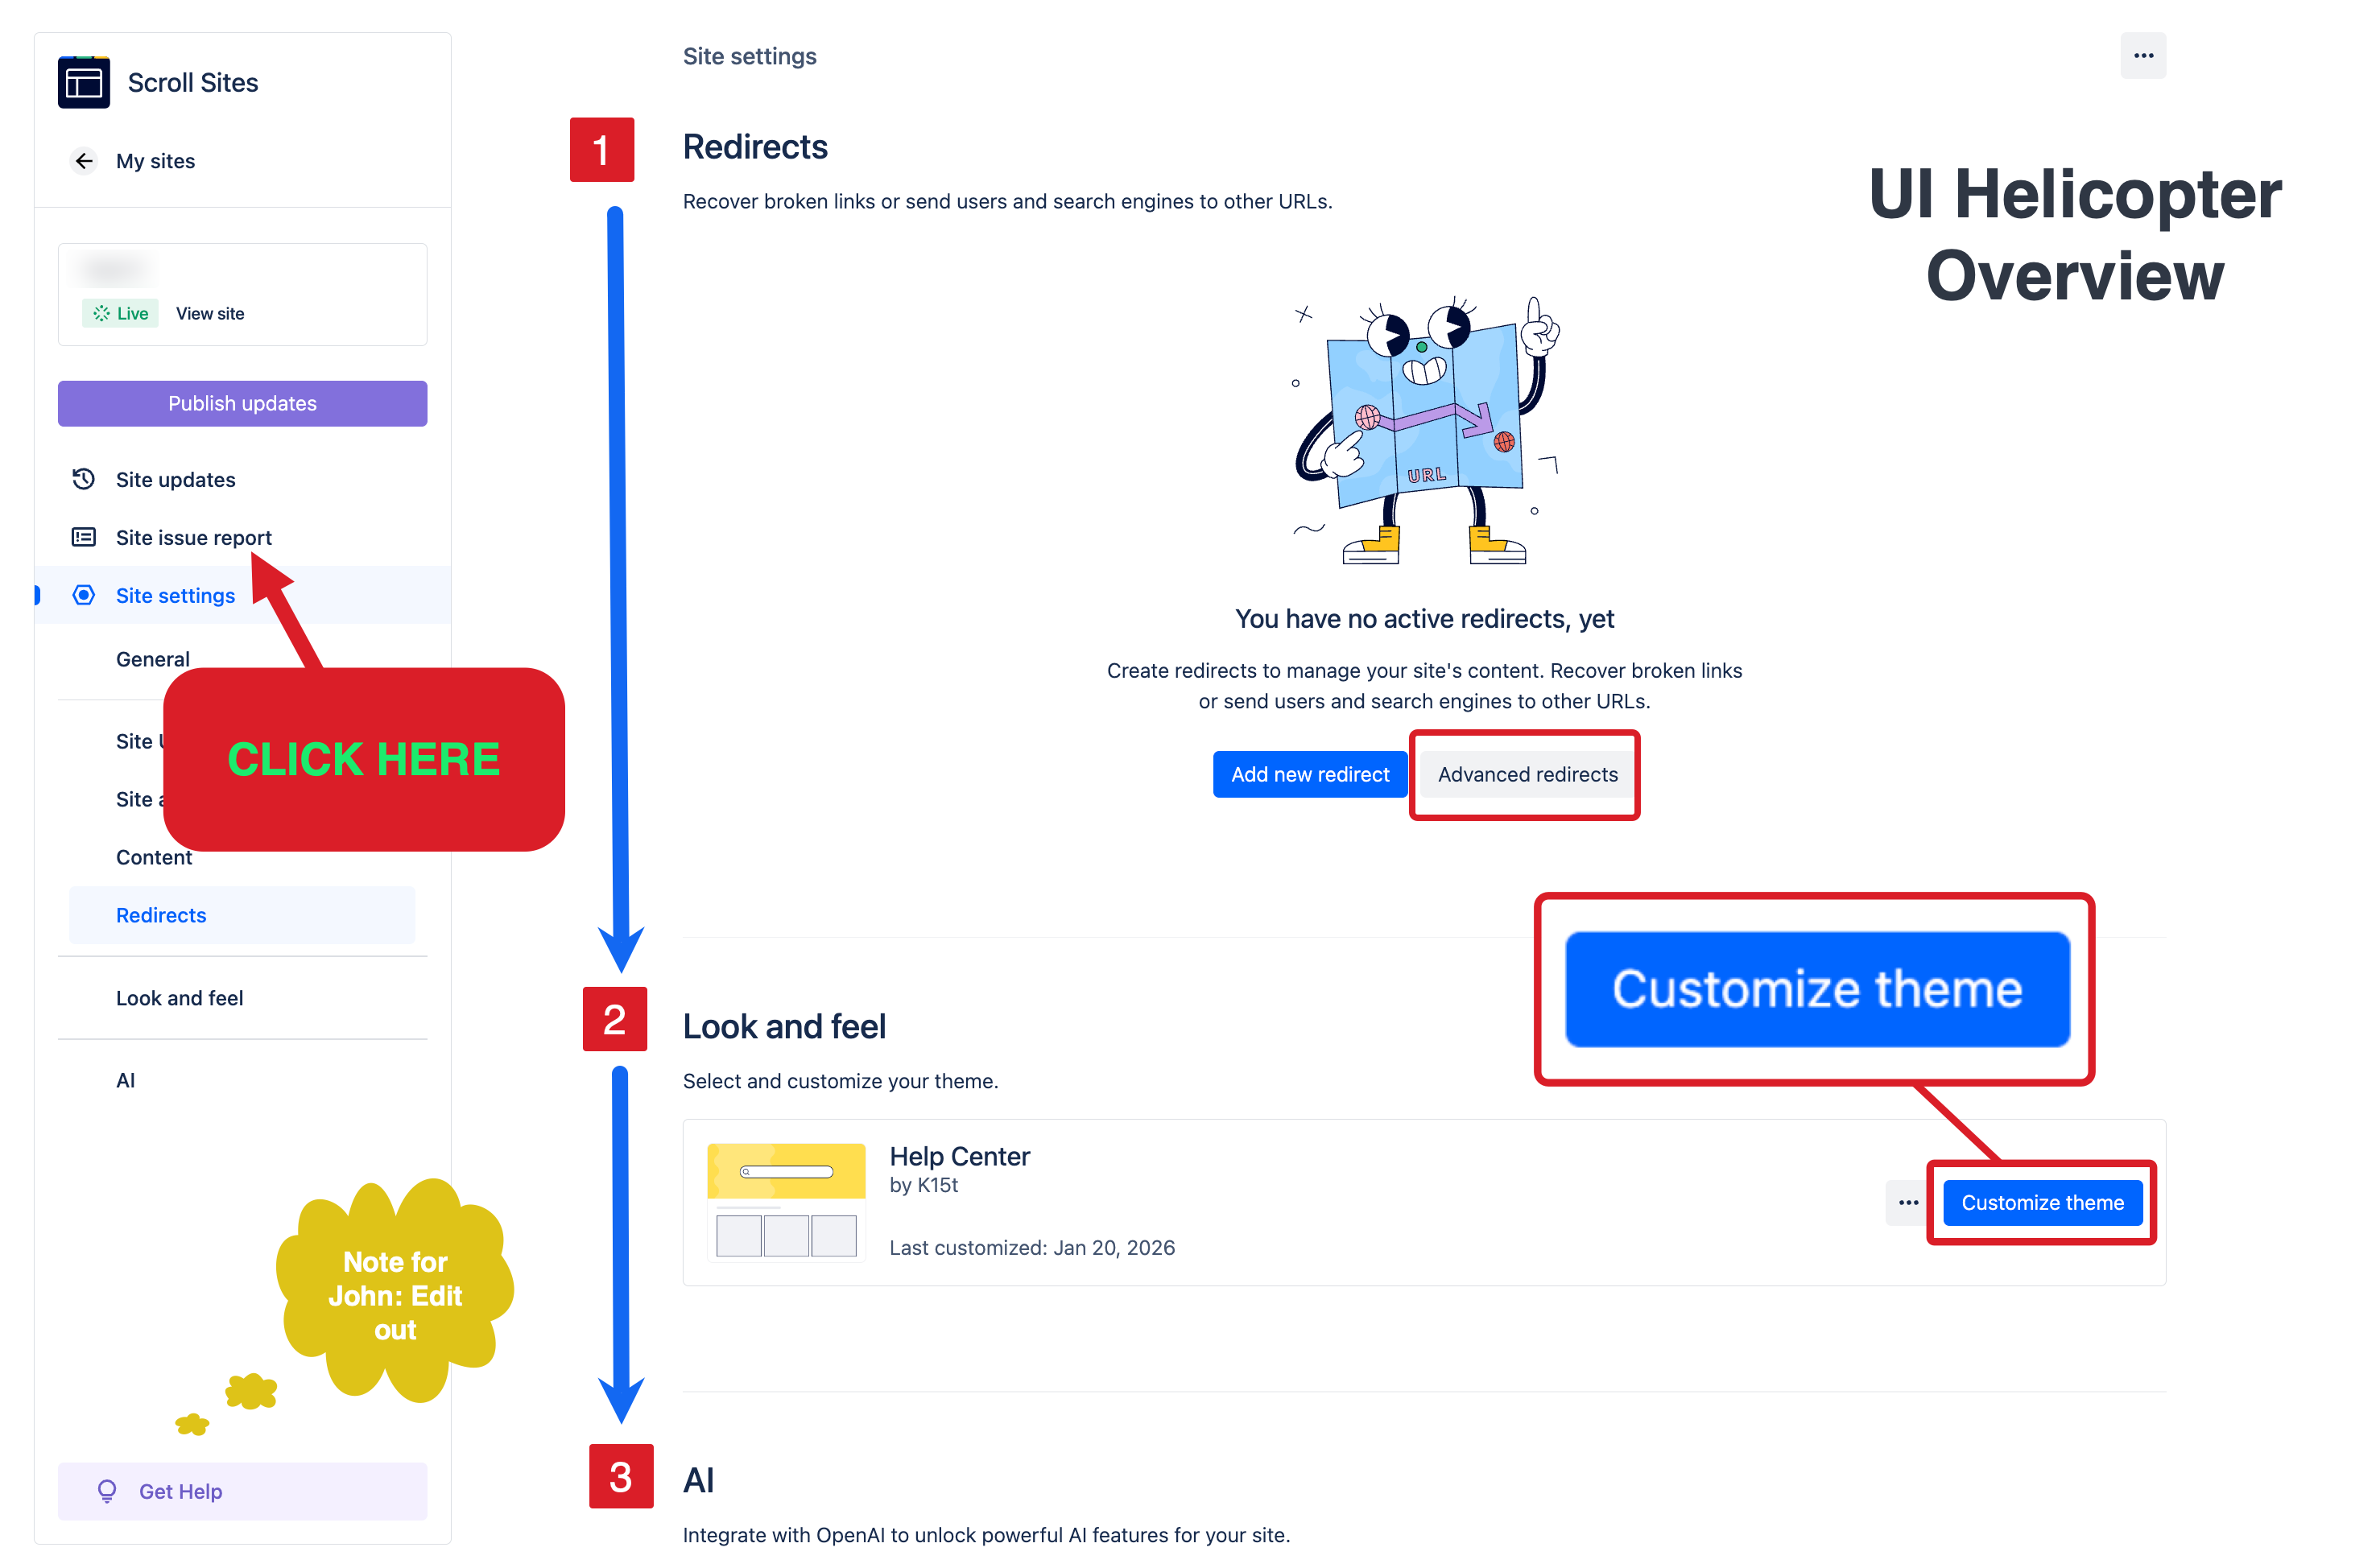
This visually atrocious, heavily annotated screenshot brings us to the questions of company policies, corporate governance, and legislative compliance. And liability.
Who should take and enhance screenshots?
Anyone can take a good screenshot using software built into most operating systems. Those tools tend to offer basic editing tools. But such an approach leads to inconsistencies even in very small teams.
On the other side are tightly controlled policies – all screenshots, interface drawings, and product photos are created centrally by dedicated designer teams. This guarantees consistency and, in regulated industries, ensures compliance. This approach might be necessary in specific industries – in documenting medical devices or heavy machinery.
A middle ground is using dedicated screenshot software (e.g. Snagit) that allows design teams to create and upload templates, or themes, for specific tools and features. As a result, writing teams themselves can craft consistent enhanced screenshots as needed.
Managing Images as Attachments
Images age. Just like the picture of Dorian Gray, images in your documentation deprecate, when circumstances change. User interface evolves. Hardware components are added. New policies loom. A new team photo is needed. As with any content on a large scale, life cycle management of images is not optional.
If you just have single-use images on individual pages, a little bit of page attachment hygiene (deleting unused versions and files immediately) will work wonders.
Every page in Confluence has an Attachments management environment.
Sin 4. Non-descriptive file names. Get your team to agree on attachment naming conventions. As you can see, this nomenclature is not useful.
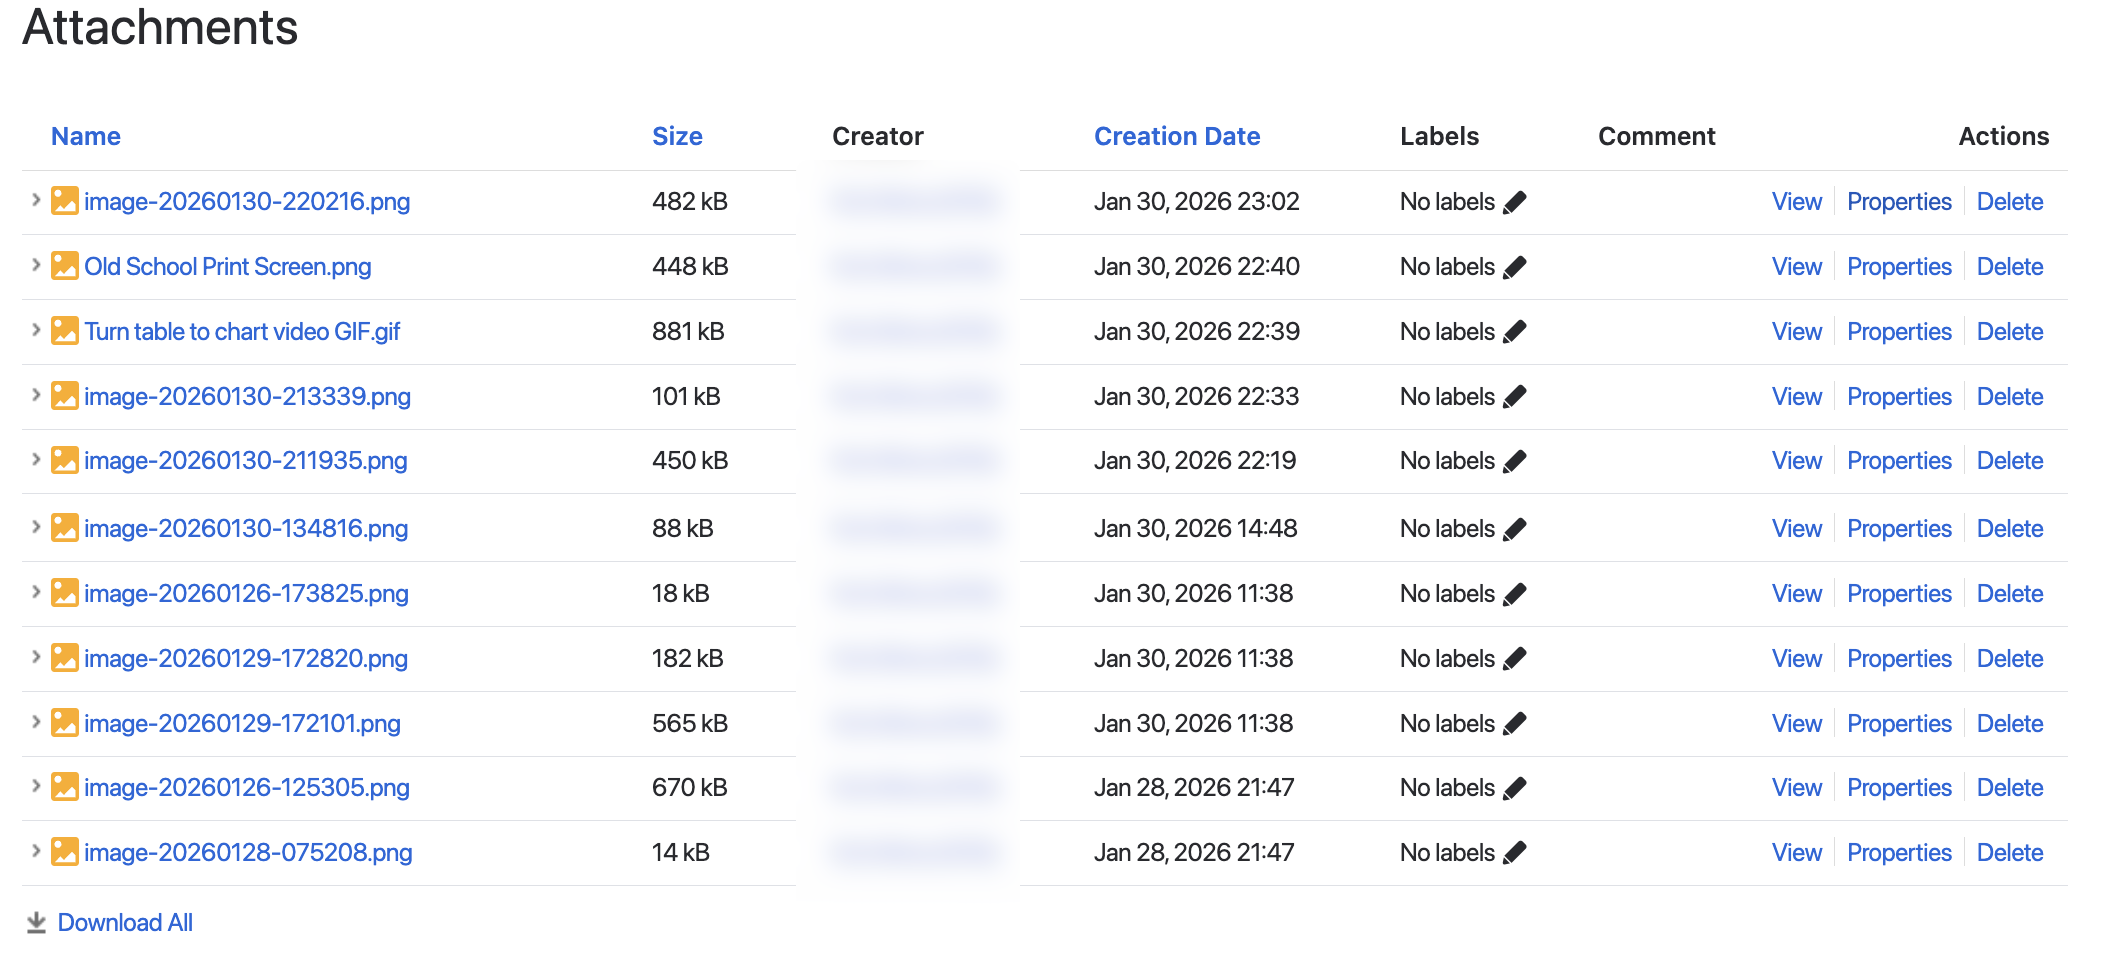
Meaningful file names help search engine optimization (SEO) and make your attachments manageable. By the way, did you know that attachments can have their own labels? For more information, see Atlassian’s documentation about managing uploaded files.
Creating & Managing Images Libraries in Confluence
That individual approach to attachment management doesn’t scale if you have hundreds of images, many of which are used across several pages. Or you perhaps also have a central library of approved images – product photos, screenshots prepared by your design team, etc. that lives on the company’s intranet.
So what are your options to manage images in Confluence on a large scale?
Image as a Link
Use the Link option (Add image menu on the Confluence toolbar) to load images from a remote, centrally managed HTML image gallery.
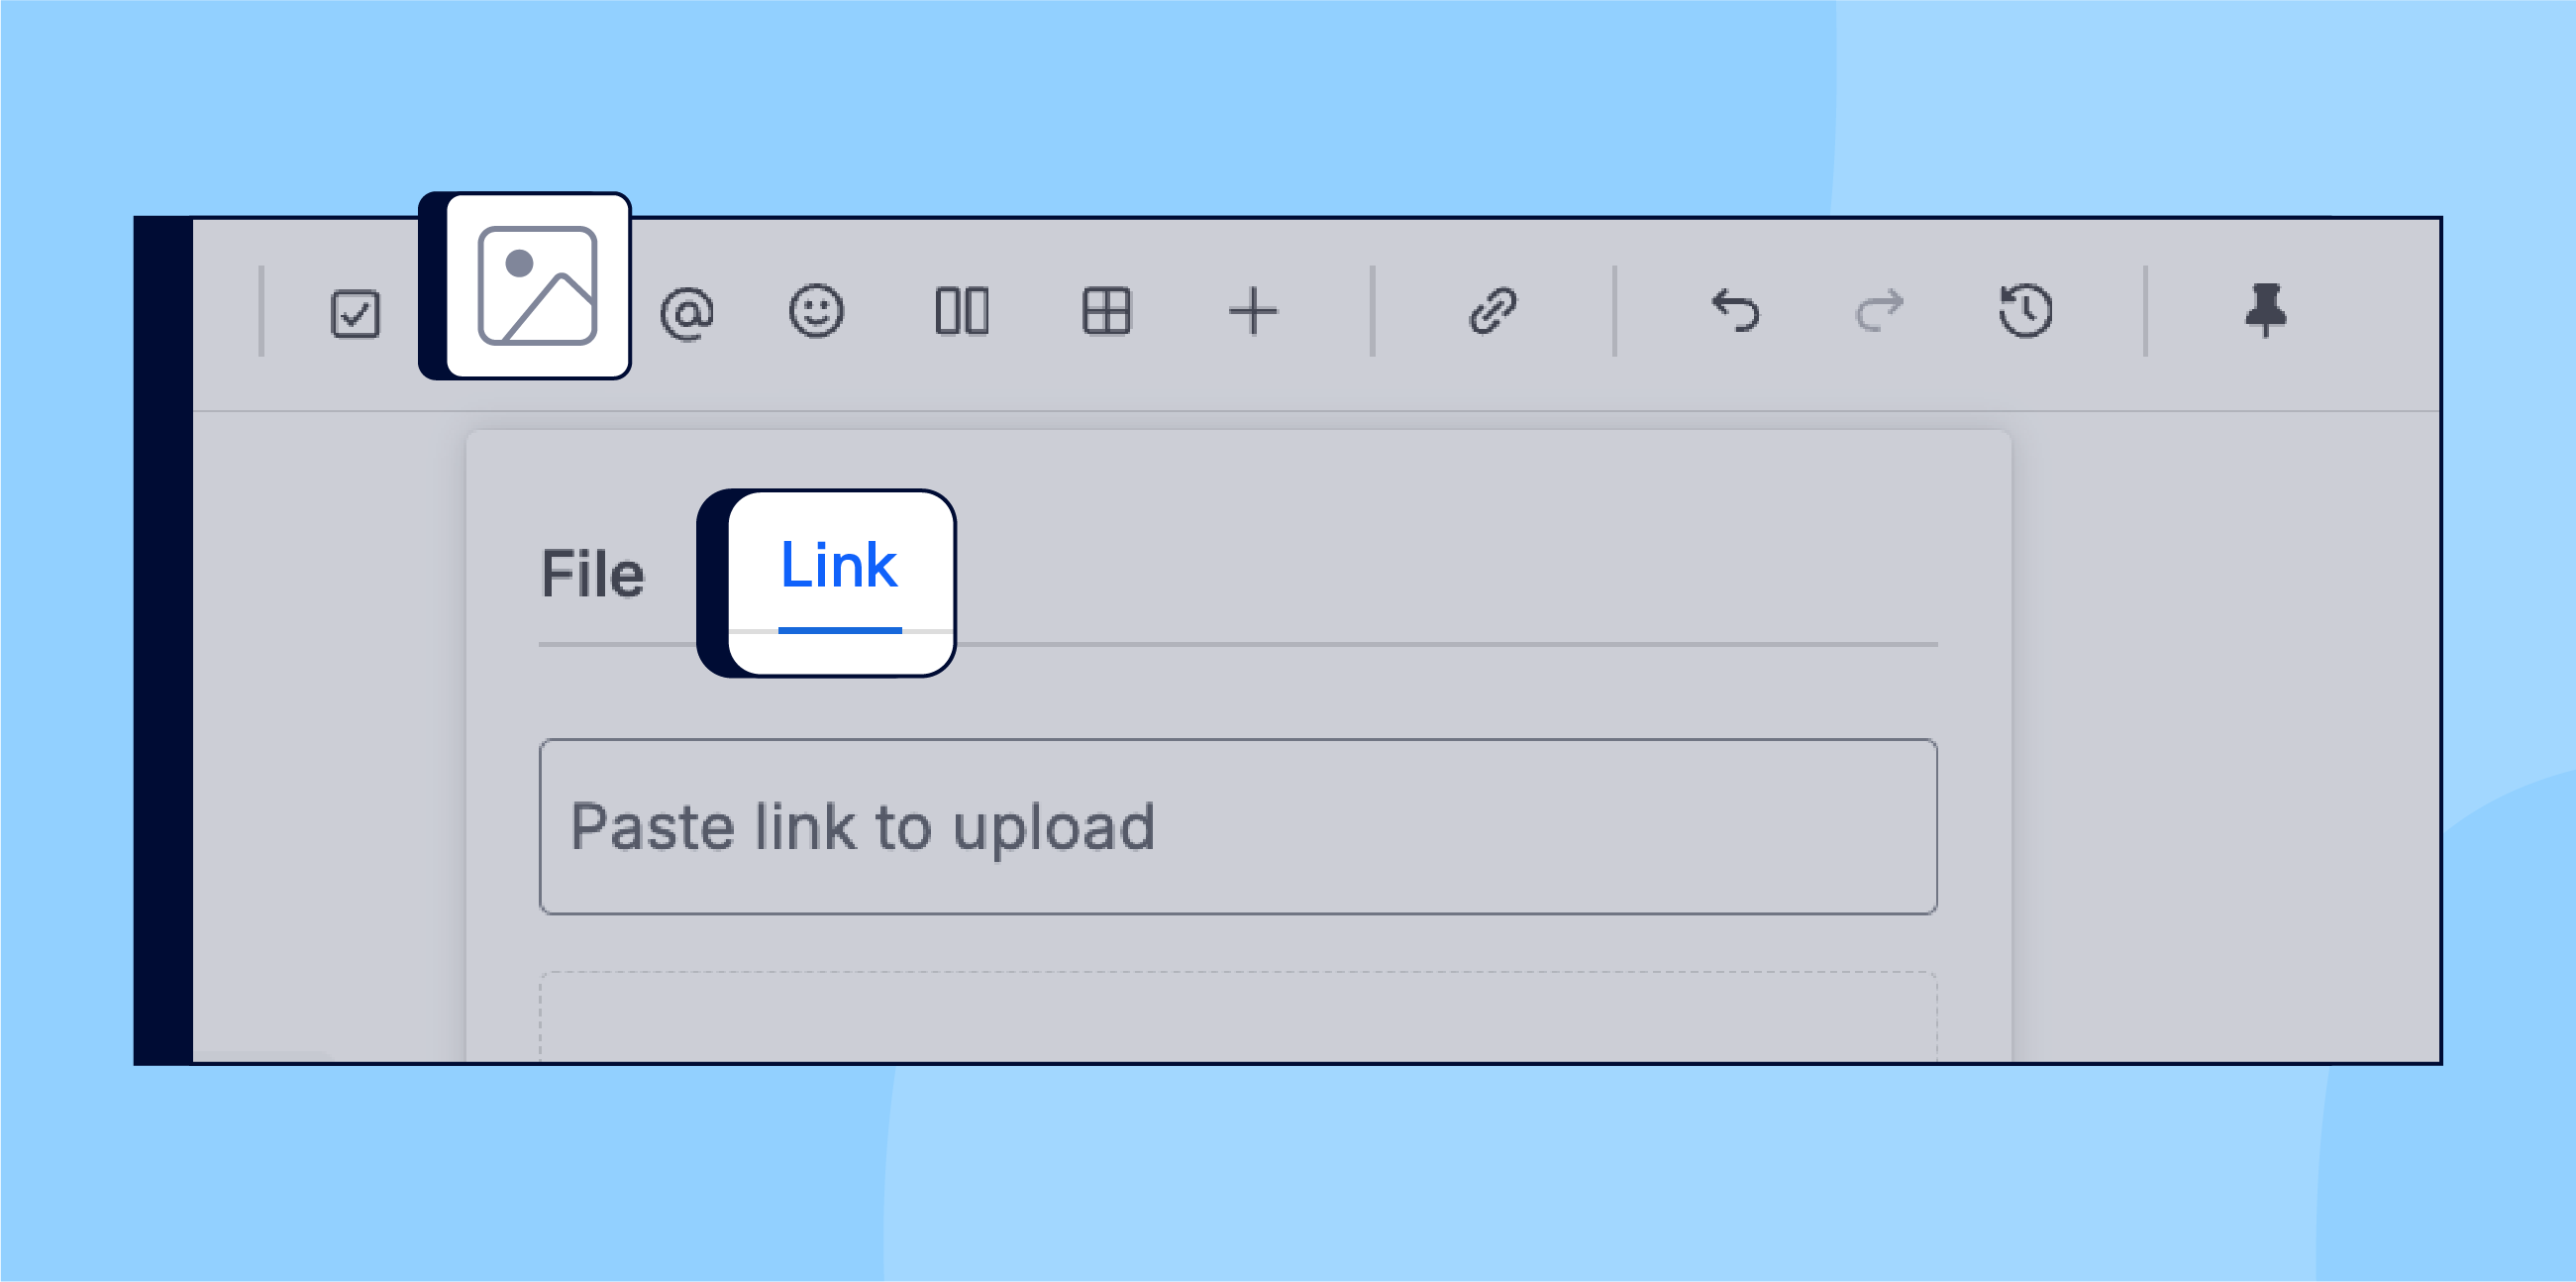
If you update the file at the source (and keep the URL), the image changes everywhere. With this approach, you retain all image formatting options that are available on a Confluence page.
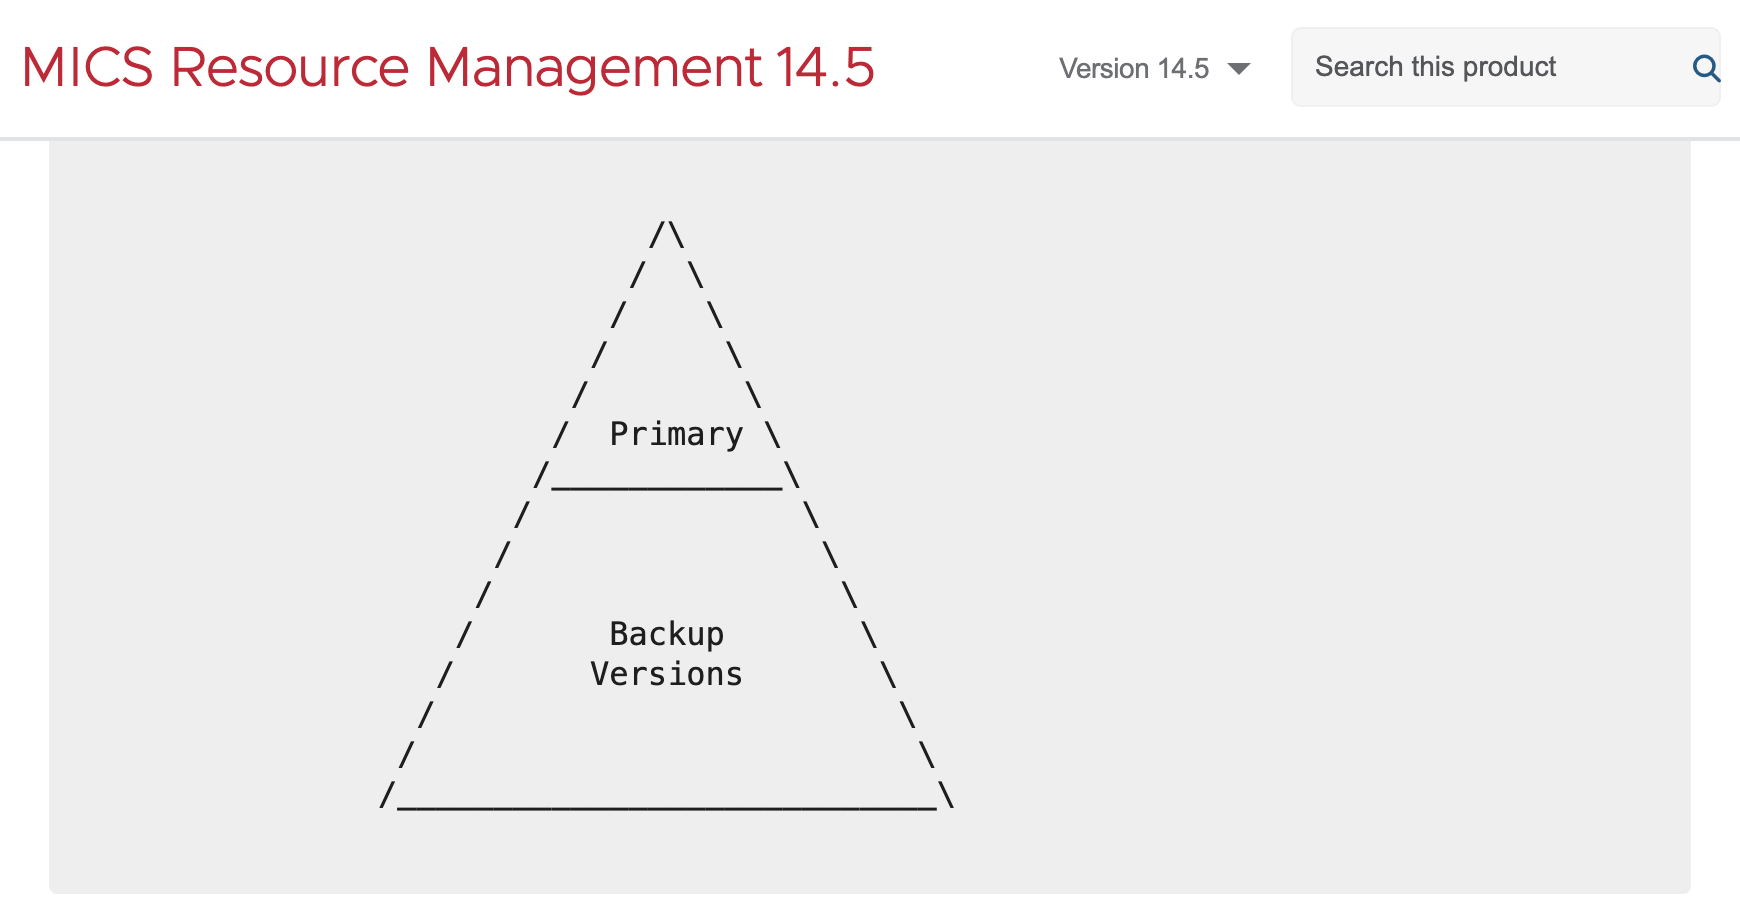
Image as an Excerpt
The image as an excerpt concept brings the central repository concept into Confluence spaces.
To create an image library in Confluence, follow these steps:
-
Create a dedicated Image Library space in Confluence.
-
In that space, create as many pages as you need.
ℹ️ Plan ahead and think how to categorize or sort your images.
Let’s say that your product has 5 main features. Then create five pages and name them so they’re clearly recognizable, such as Component 1 Screenshots, Component 2 Screenshots, etc. -
Use Excerpt macros on those pages and put a single image into each excerpt.
ℹ️ Give each excerpt a meaningful name. -
When you need to use that image in another space’s page, simply use the Insert Excerpt macro and point to it a specific
page>excerptin the Image Library Space. The image will load exactly when you want it to be – in a list, in a layout column, or in regular text.
This method not only creates a centrally managed image hub in Confluence, it also allows you to protect the space-based image library against accidental changes with space permissions.
Do you want to find out where your excerpts are used? Simply open the page’s Page information panel and click Incoming links.
By the way, at K15t we’re using this approach in our product documentation. Once we publish our documentation with our app Scroll Sites for Confluence, excerpt-sourced images are displayed as any other image that was directly attached to a Confluence page.
Use Databases for image management
You can configure a Confluence database to display various details of a page. On the following screenshot, we’re showing details of a Company Events page in a database configured to display excerpts, version number, etc., for even easier image library management.
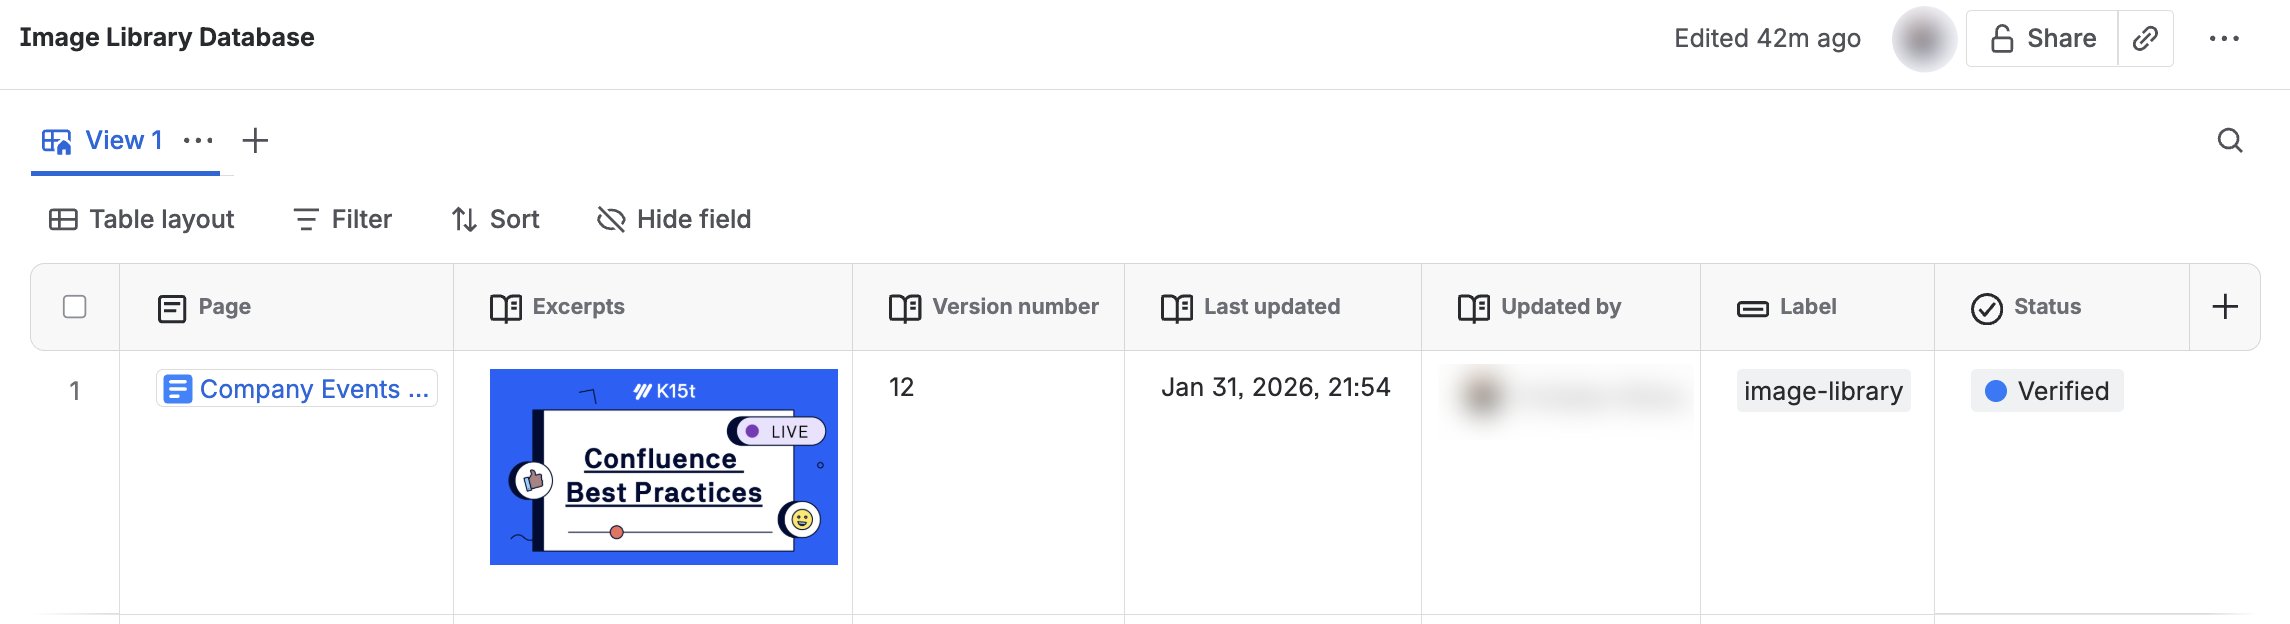
Unfortunately, Databases can only show the first excerpt on any given page.
For more information, see Best Practices for Confluence Databases.
What about a Marketplace app?
Yes, there is an app for that. If you’re managing image-heavy Confluence content, Assets for Confluence (Image Library) is definitely worth checking.
Confluence image as a Jira work item
No matter which method you’re using to manage images centrally, ensure that those changes are recorded as identifiable tasks. This ensures that a change can be back-tracked and examined if needed, which is extremely important not just for everyday work but also for general accountability and governance.
Advanced Image Hacks in Confluence
We’ve long posited that Confluence will take as far as you’re willing to push it. We can only recommend to use your creativity and explore innovative use of available features. Let’s look into a couple of very functional image ‘hacks’.
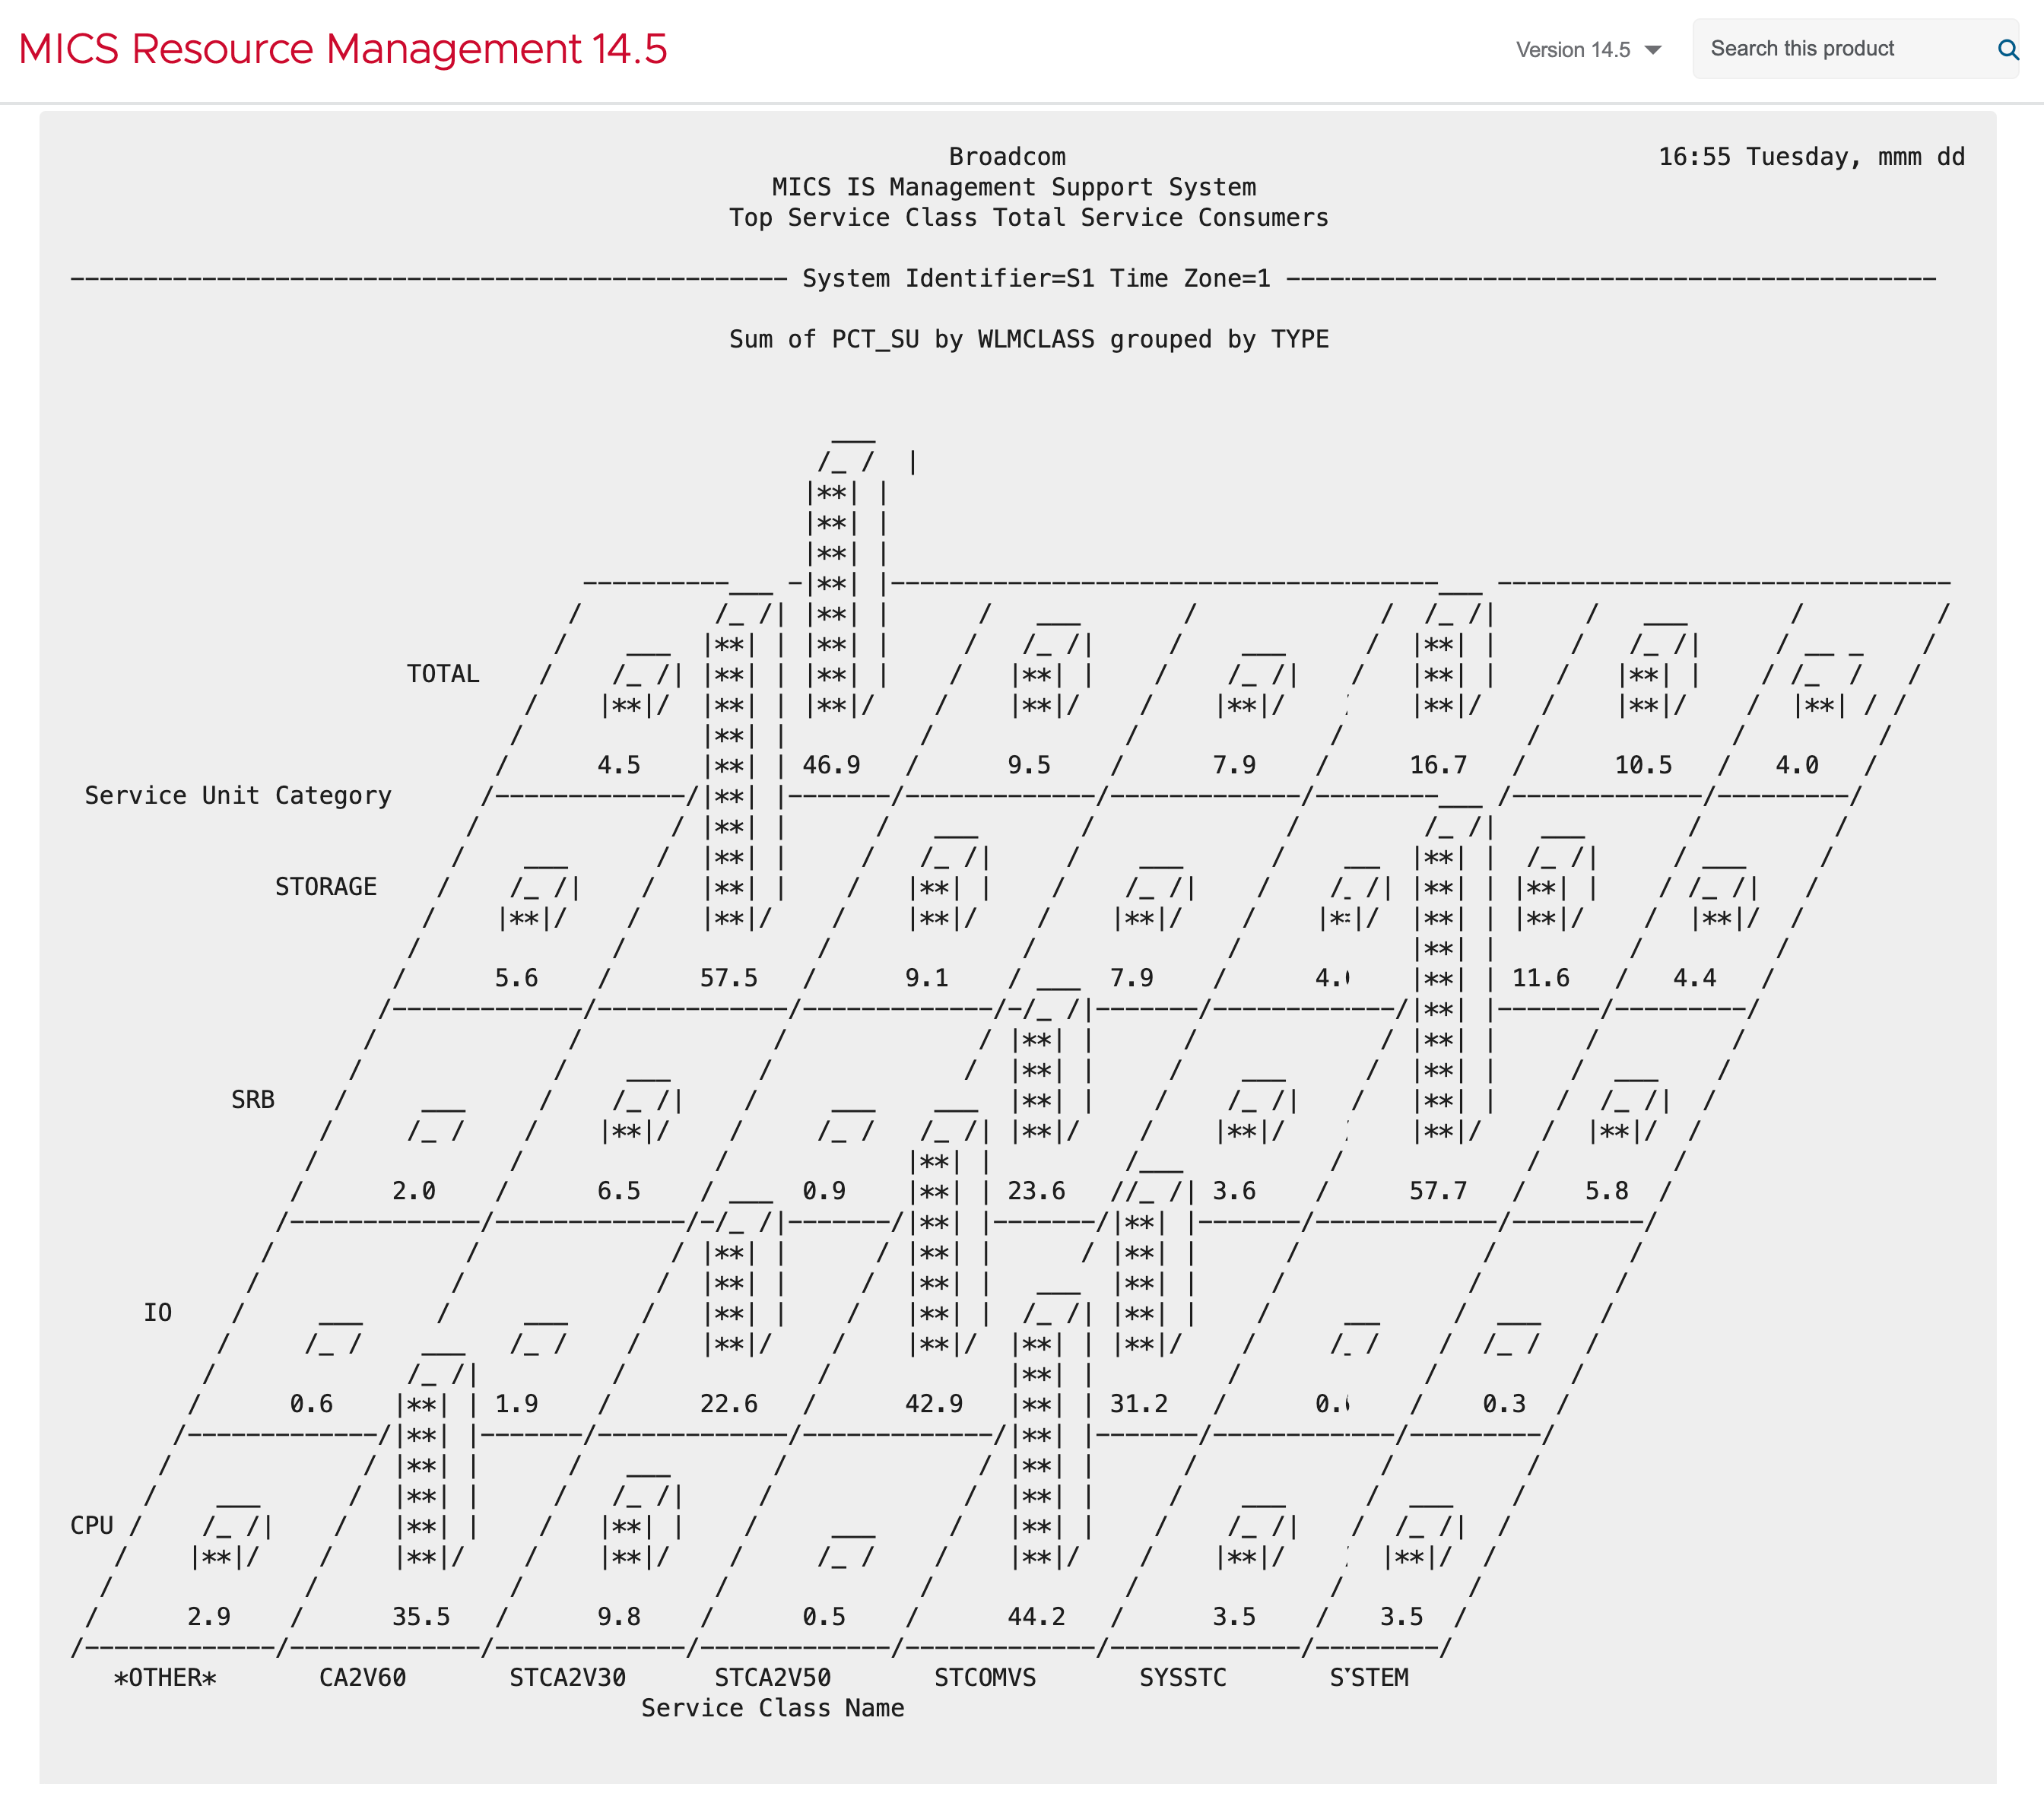
Turn tables into a chart
Let’s start in the area where an image really is worth 1000 words. Tables. In Confluence, you can easily visualize data from a table using a chart.
While not an image in the purest sense of the word, it is a highly visual element that has an immediate information impact.
Trust us, it used to be much, much more difficult to create a chart using ASCII characters in a text editor…
To learn more, see Create Beautiful Charts in Confluence Cloud.
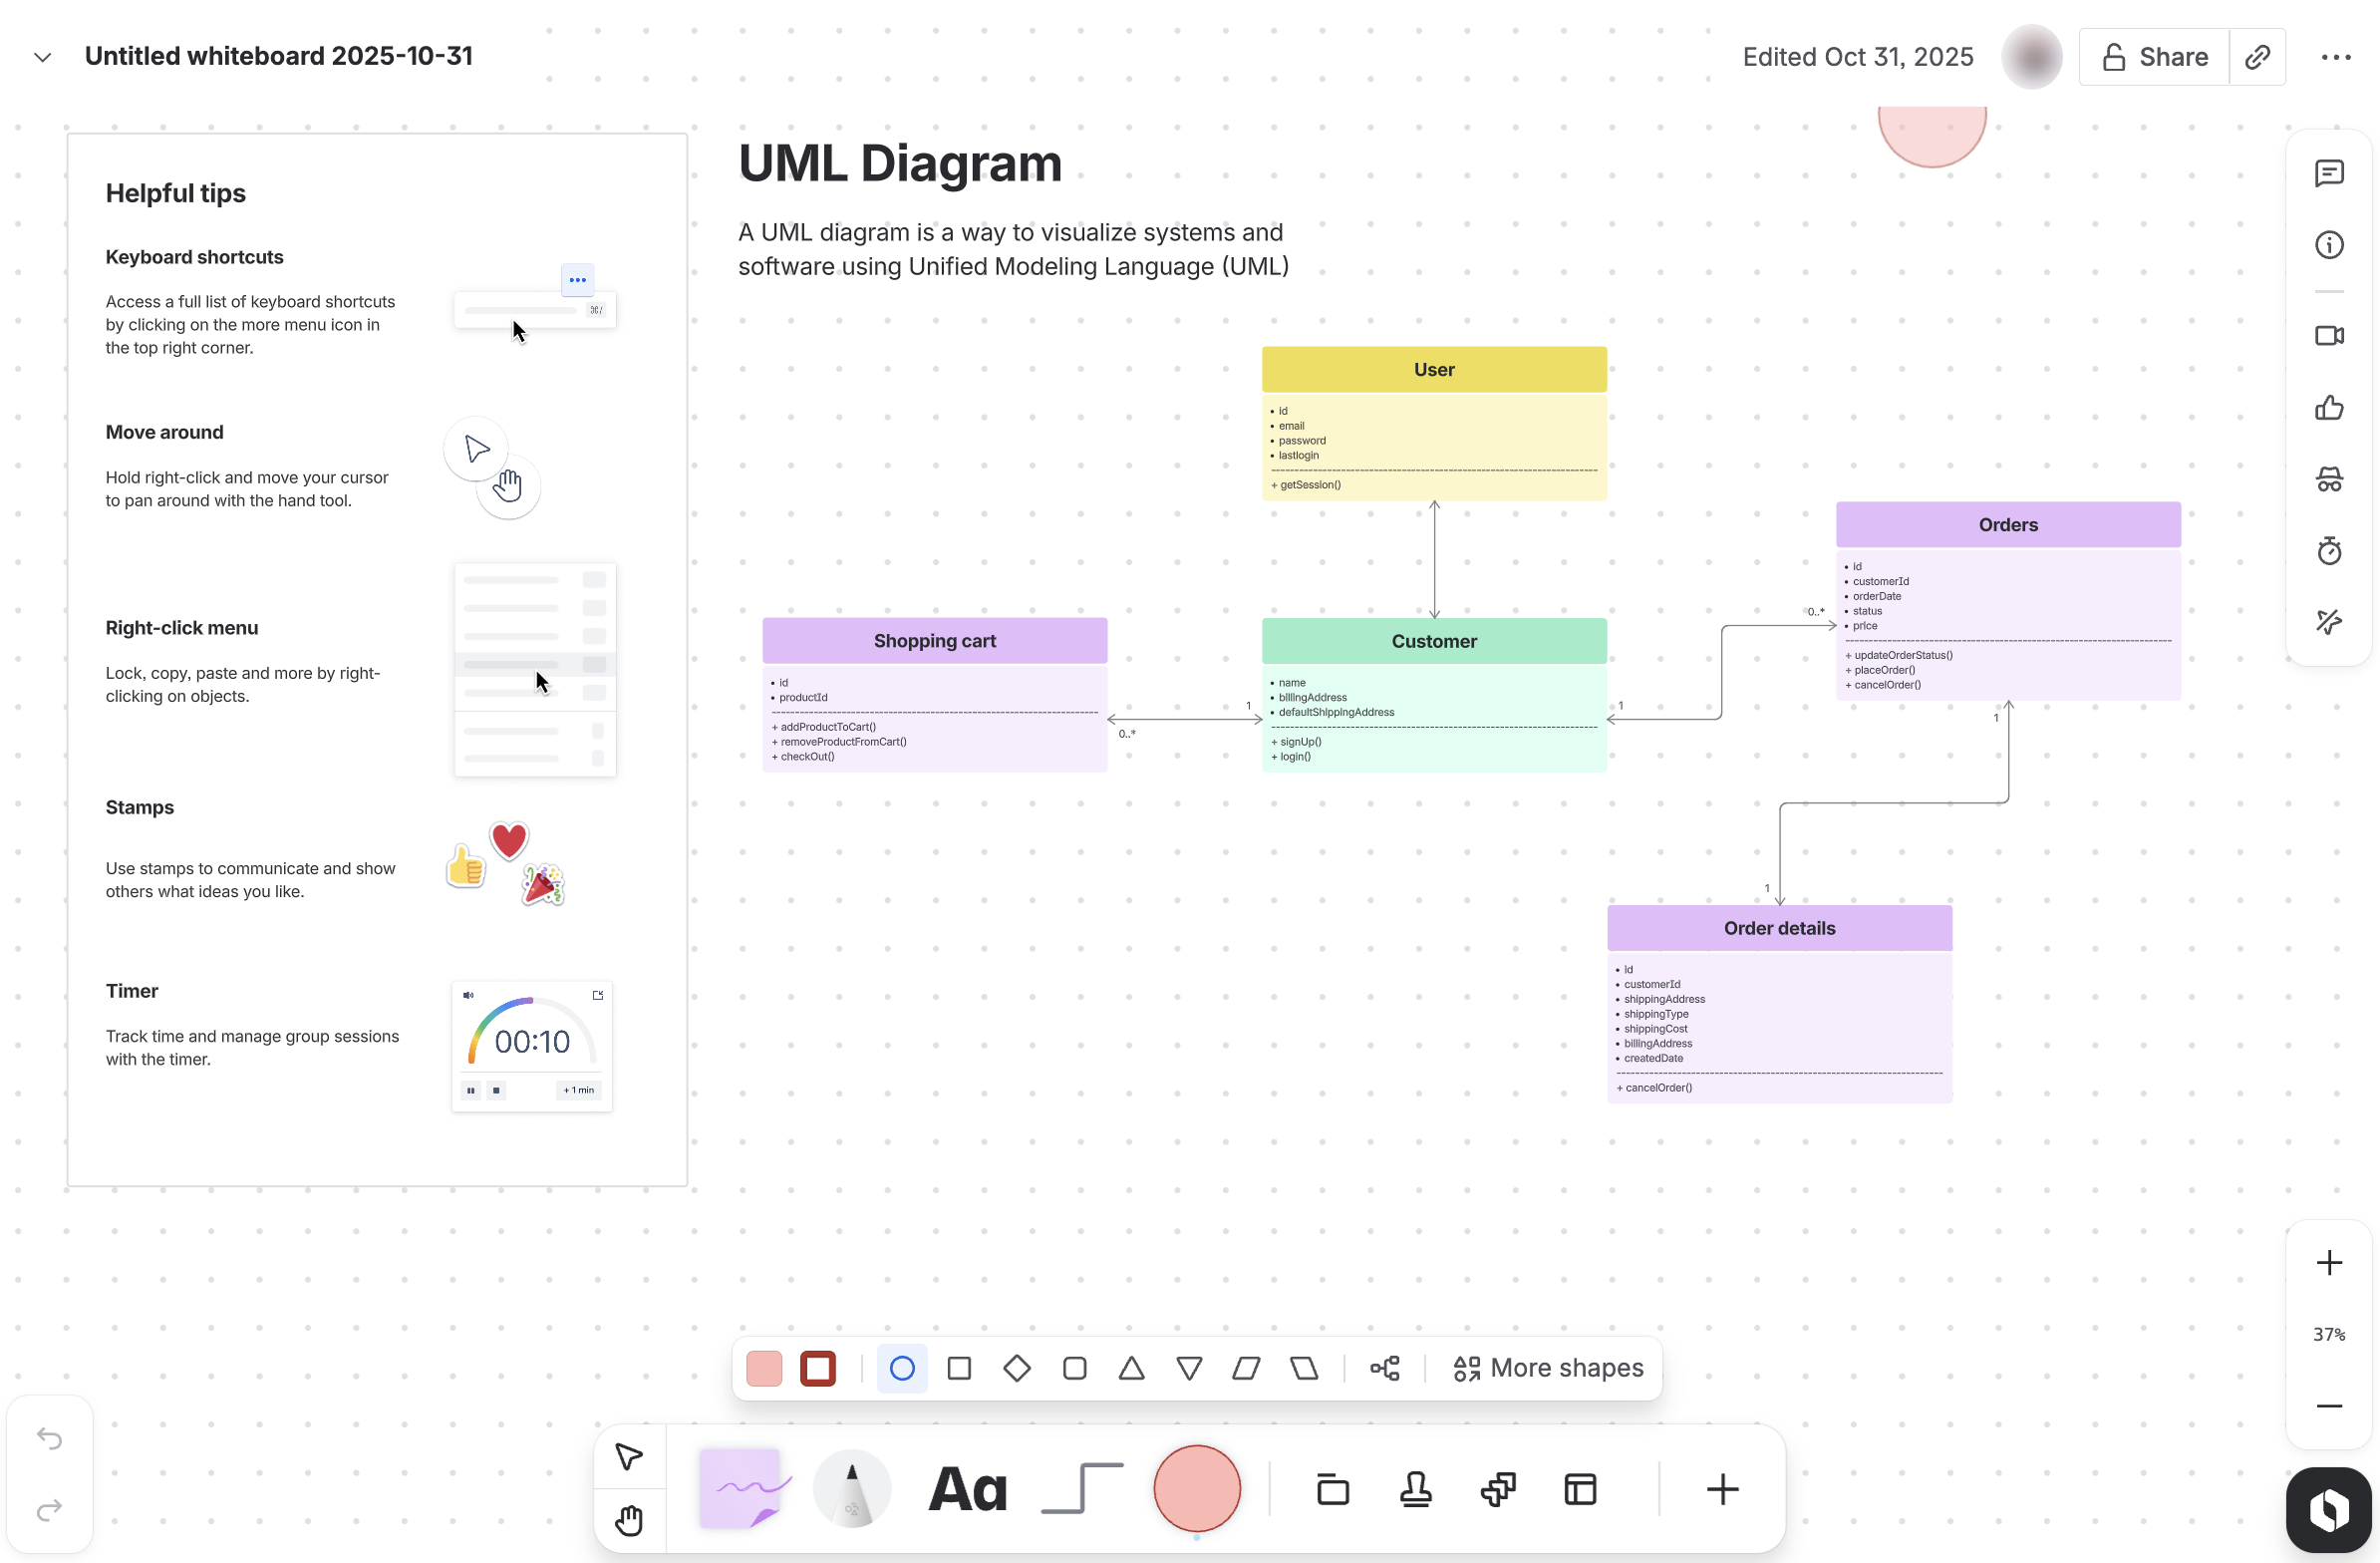
Use Whiteboards to draw diagrams
Sometimes, taking a screenshot of an existing asset is not enough and you have to create your own visuals to illustrate an idea. A workflow, or a diagram.
-
The benefit: Unlike a static image, you can edit the whiteboard in real-time.
-
How-to: Use Confluence whiteboard to create a diagram and embed it into a Confluence page.
For more complex detailed information, see How To Create Beautiful Diagrams In Confluence.
Hyperlinking images
Instead of adding extra text to link to content related to the information shown in the image, apply the hyperlink directly to the image.
You can bring clickable images onto another level with our Scroll ImageMap for Confluence. It allows you to add several hyperlinks to specific parts of the image. Are you describing a piece of hardware? Select a specific component and link to its technical specification. To see the app in action, review this page in our documentation.
Use images to identify Confluence spaces
Humans use visual clues to find their way around. So why not use images to assure users that they’ve reached the right space, or to give teams their visual identity?
Follow these steps:
-
Prepare an image that you want to use across all pages in the space.
ℹ️ Aim for 1000x100 pixels (wide and thin) so it doesn’t push content too far down. Don’t be afraid to experiment to find what works for you. -
Put the image on any page in the space.
-
Go to Space settings > Look and feel > Layout.
-
In the Header field, enter the following:
Syntax:!pageTitle^image.png!
Example:!Test page^Space header image.png!where Test page is the name of the page, and Space header image.png is the file name attached to the Test page.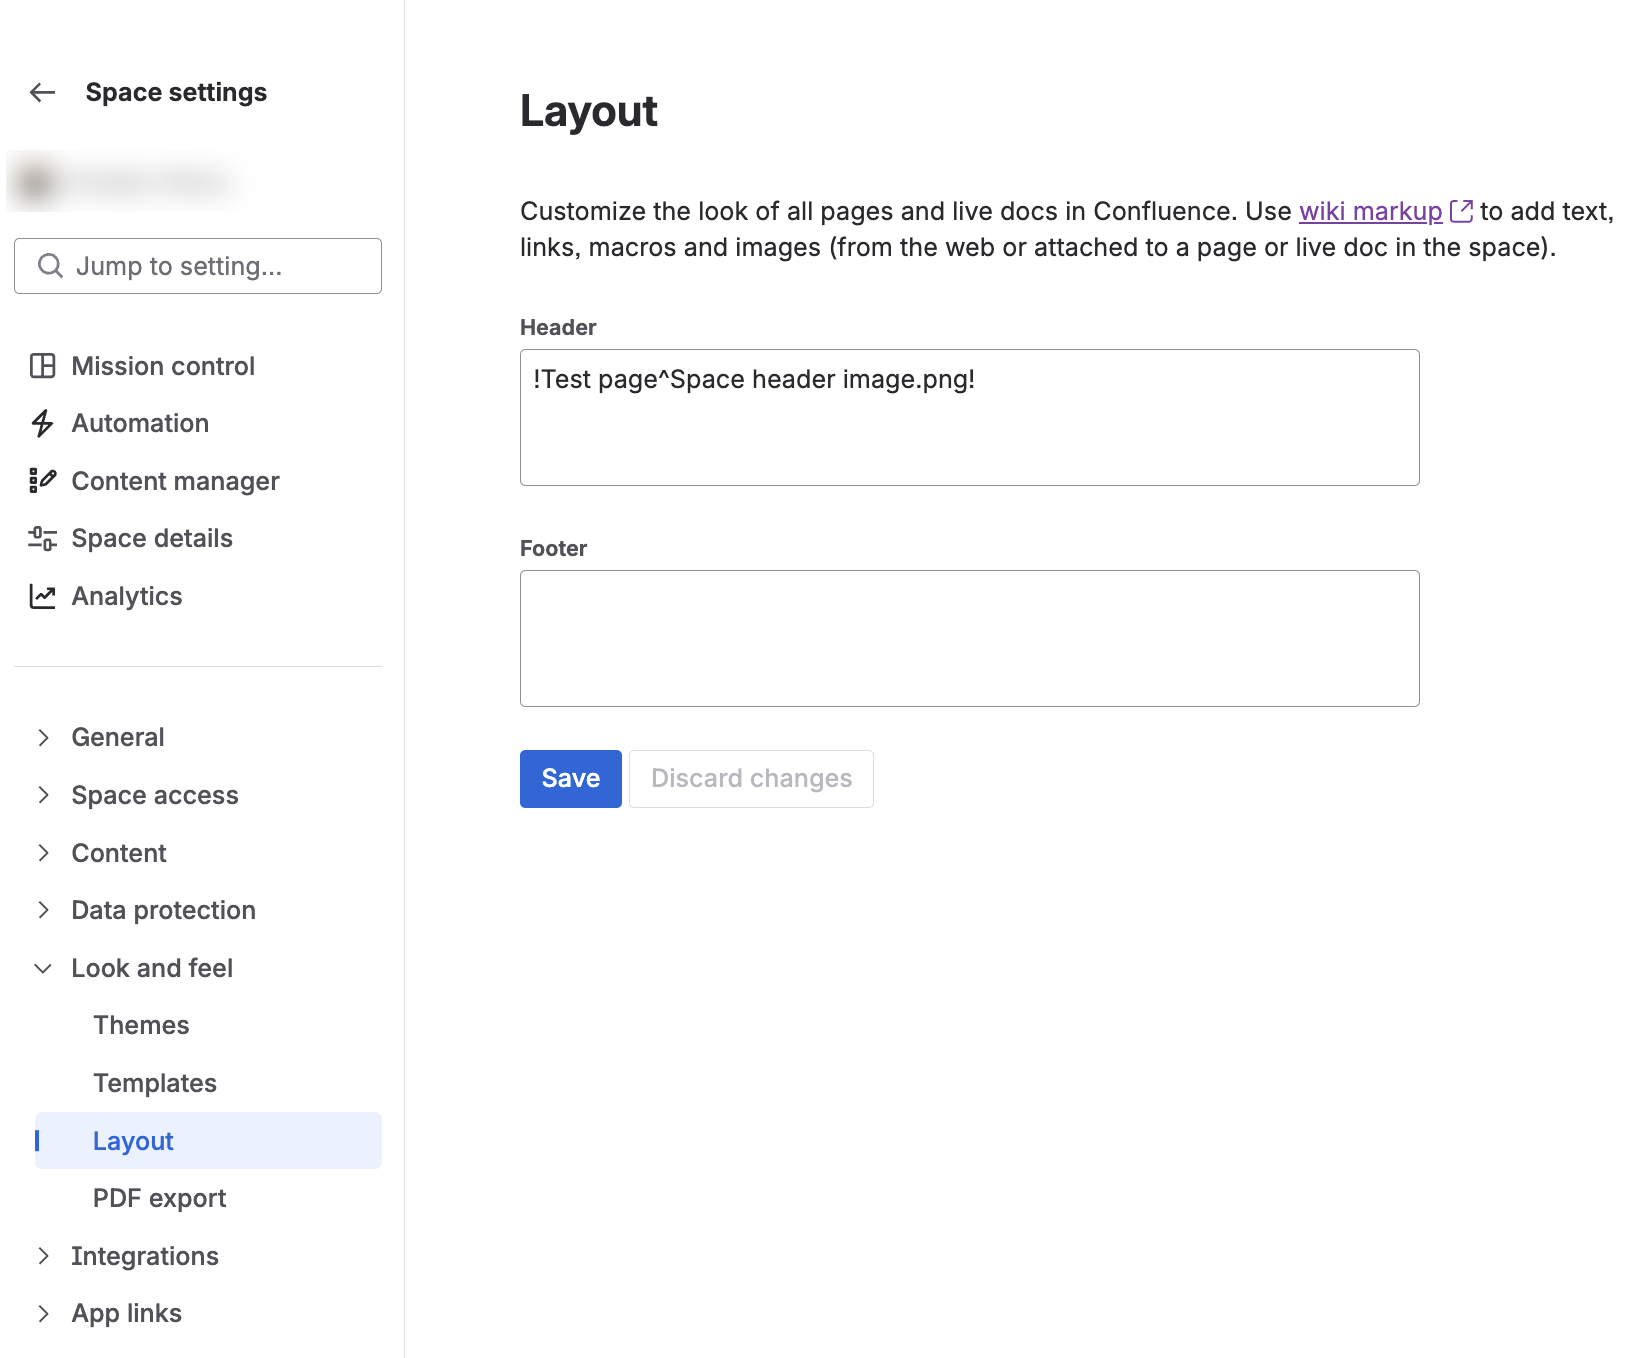
-
Click Save.
After a short while, the image will appear on every page in the space.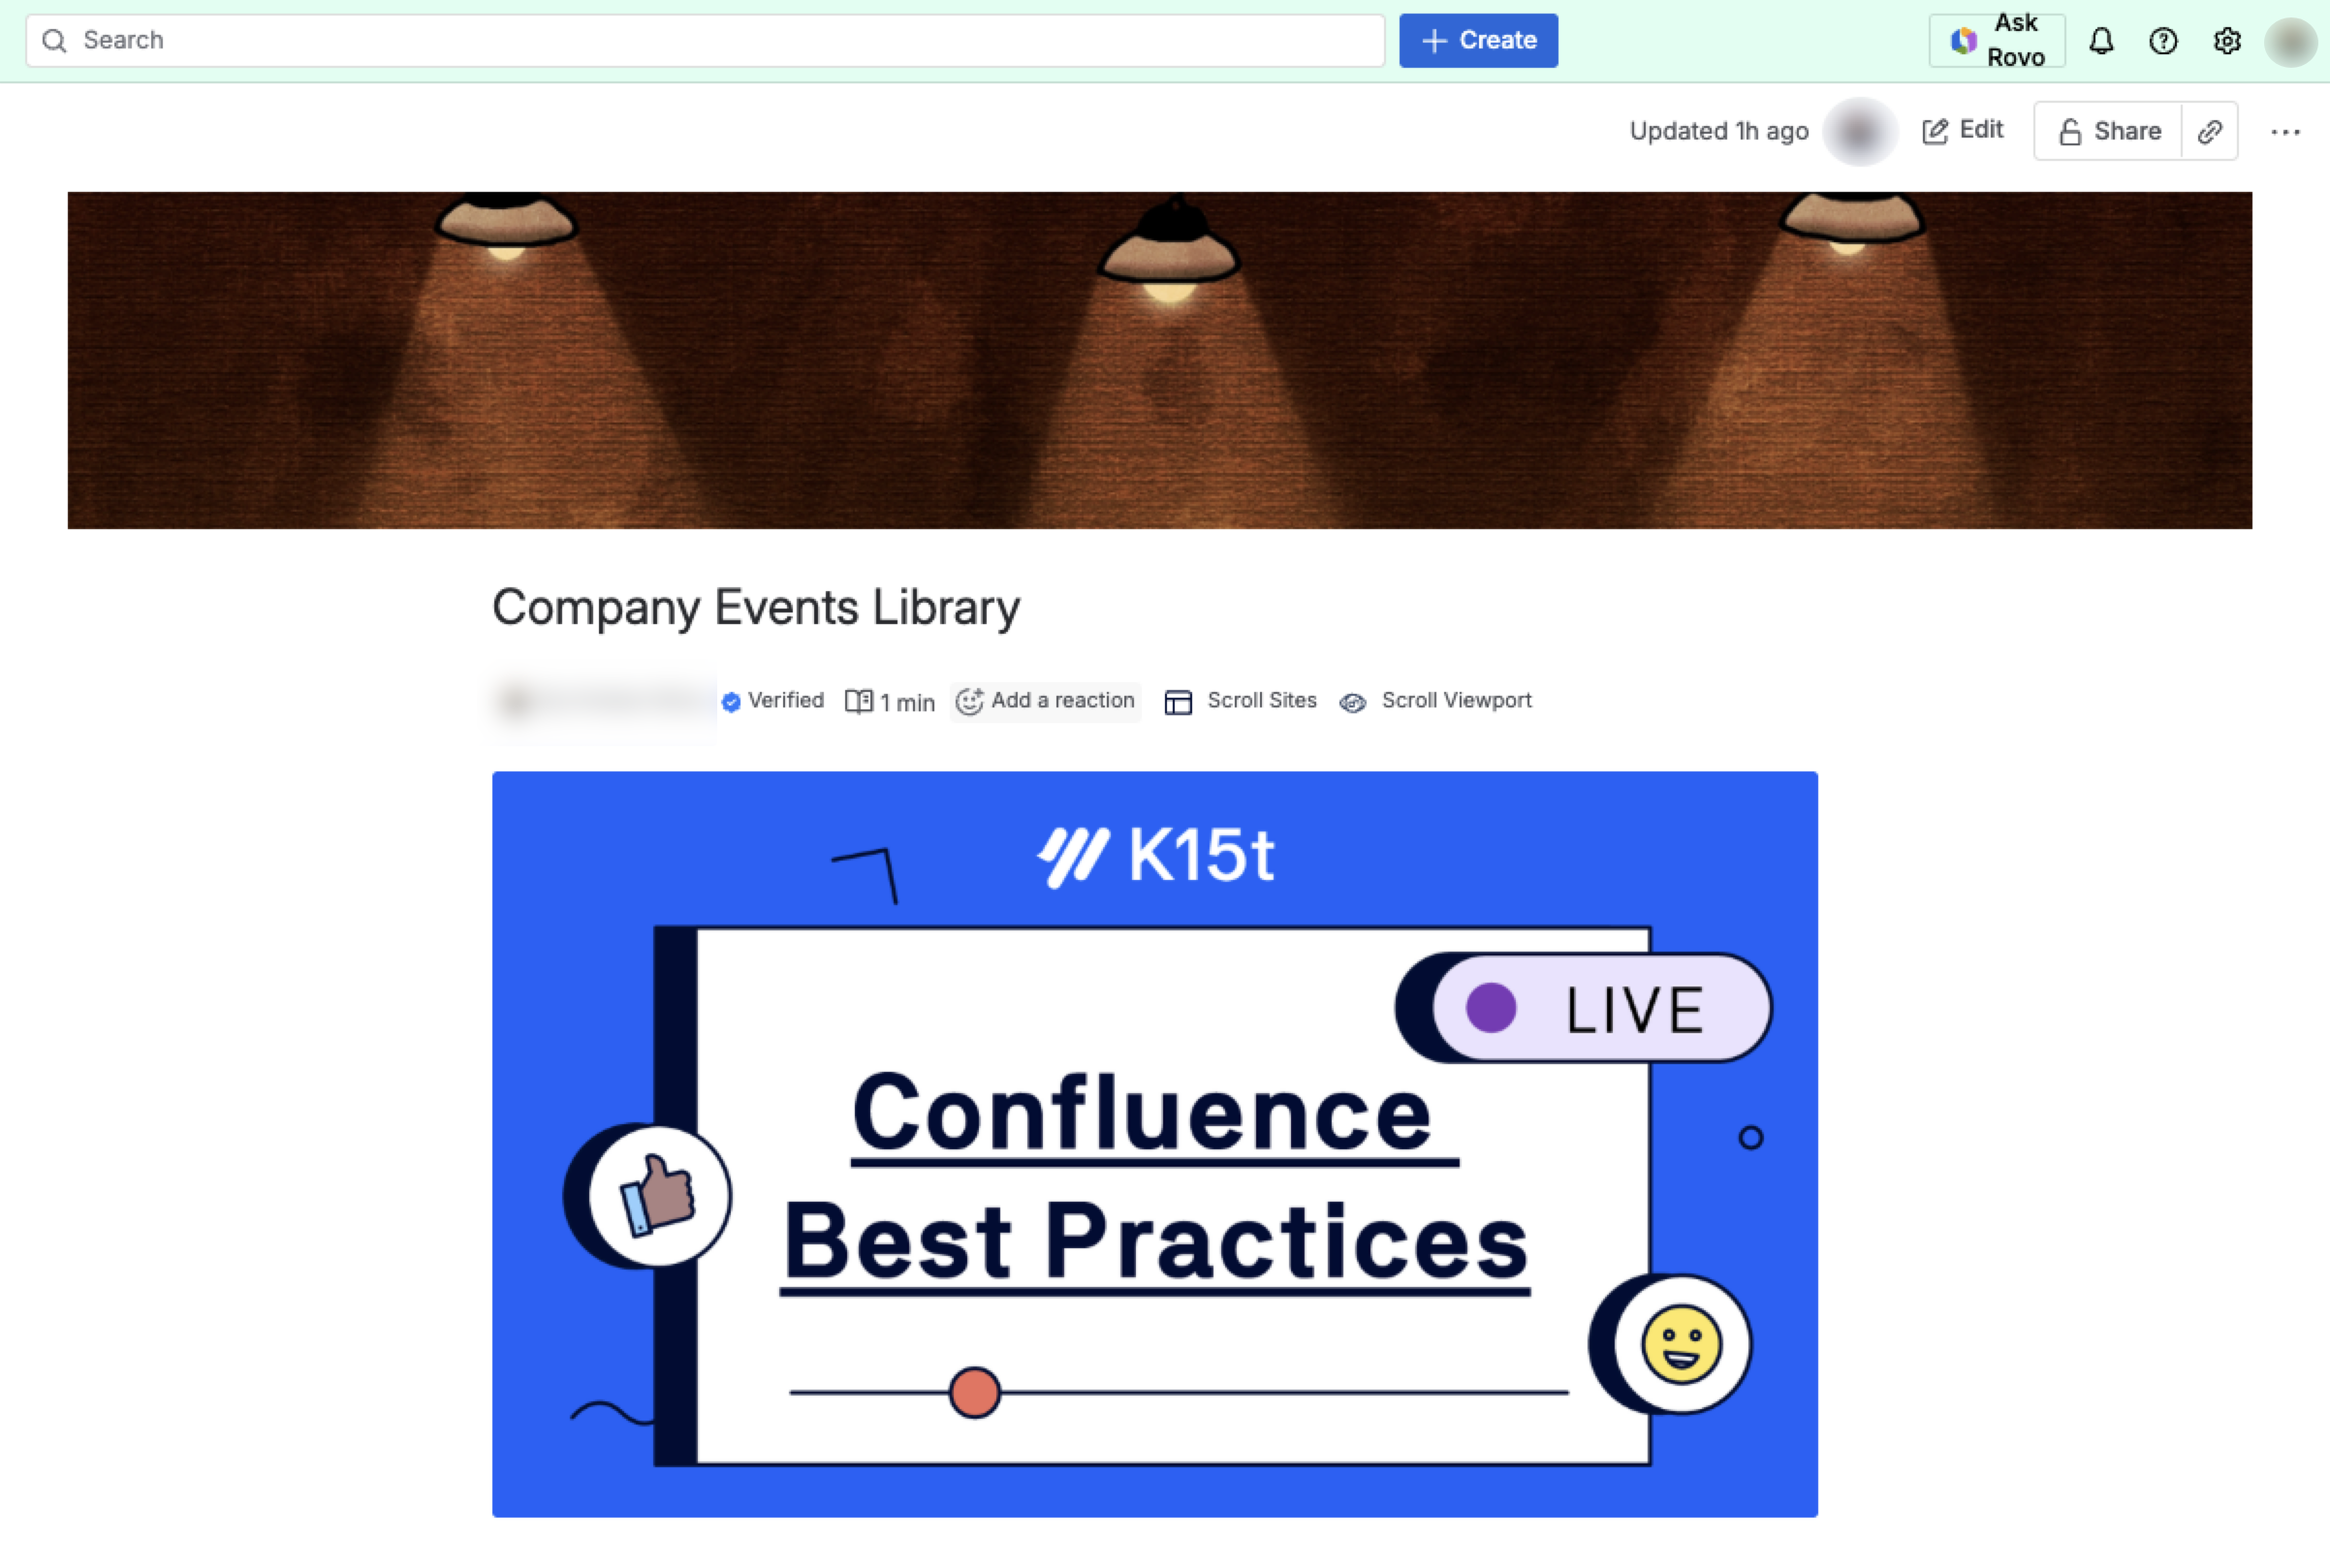
For more details, check Atlassian’s markup documentation.
FAQ: Confluence Image Management & Formatting
Can I create a centralized image library in Confluence?
Yes. To create a scalable image library, you can host screenshots in a dedicated Confluence space and use the Excerpt macro to display them on other pages with Insert Excerpt. This ensures that when you update the "source" image in the library, the change reflects automatically across all documentation pages where that excerpt is reused.
How do I align and format images with text in Confluence?
Confluence provides several native tools for image layout. You can use Shift-Enter to indent an image within a numbered list, use the Wrap feature to flow text around a visual, or use page Layouts to create side-by-side columns for a professional, manual-style look.
What is the best way to handle screenshots for technical documentation in Confluence?
The most effective approach is to avoid full-screen captures and instead focus on specific UI elements and maintain readability. For consistency, use dedicated software like Snagit to apply standard themes or templates, and ensure every image has a descriptive file name and Alt-text to improve both accessibility and searchability.
