In this issue, we’re spotlighting a simple but powerful idea: using page status as a trigger for automation workflows in Confluence.
.png?cb=548017655fcb8126ace3e074c1f9da14)

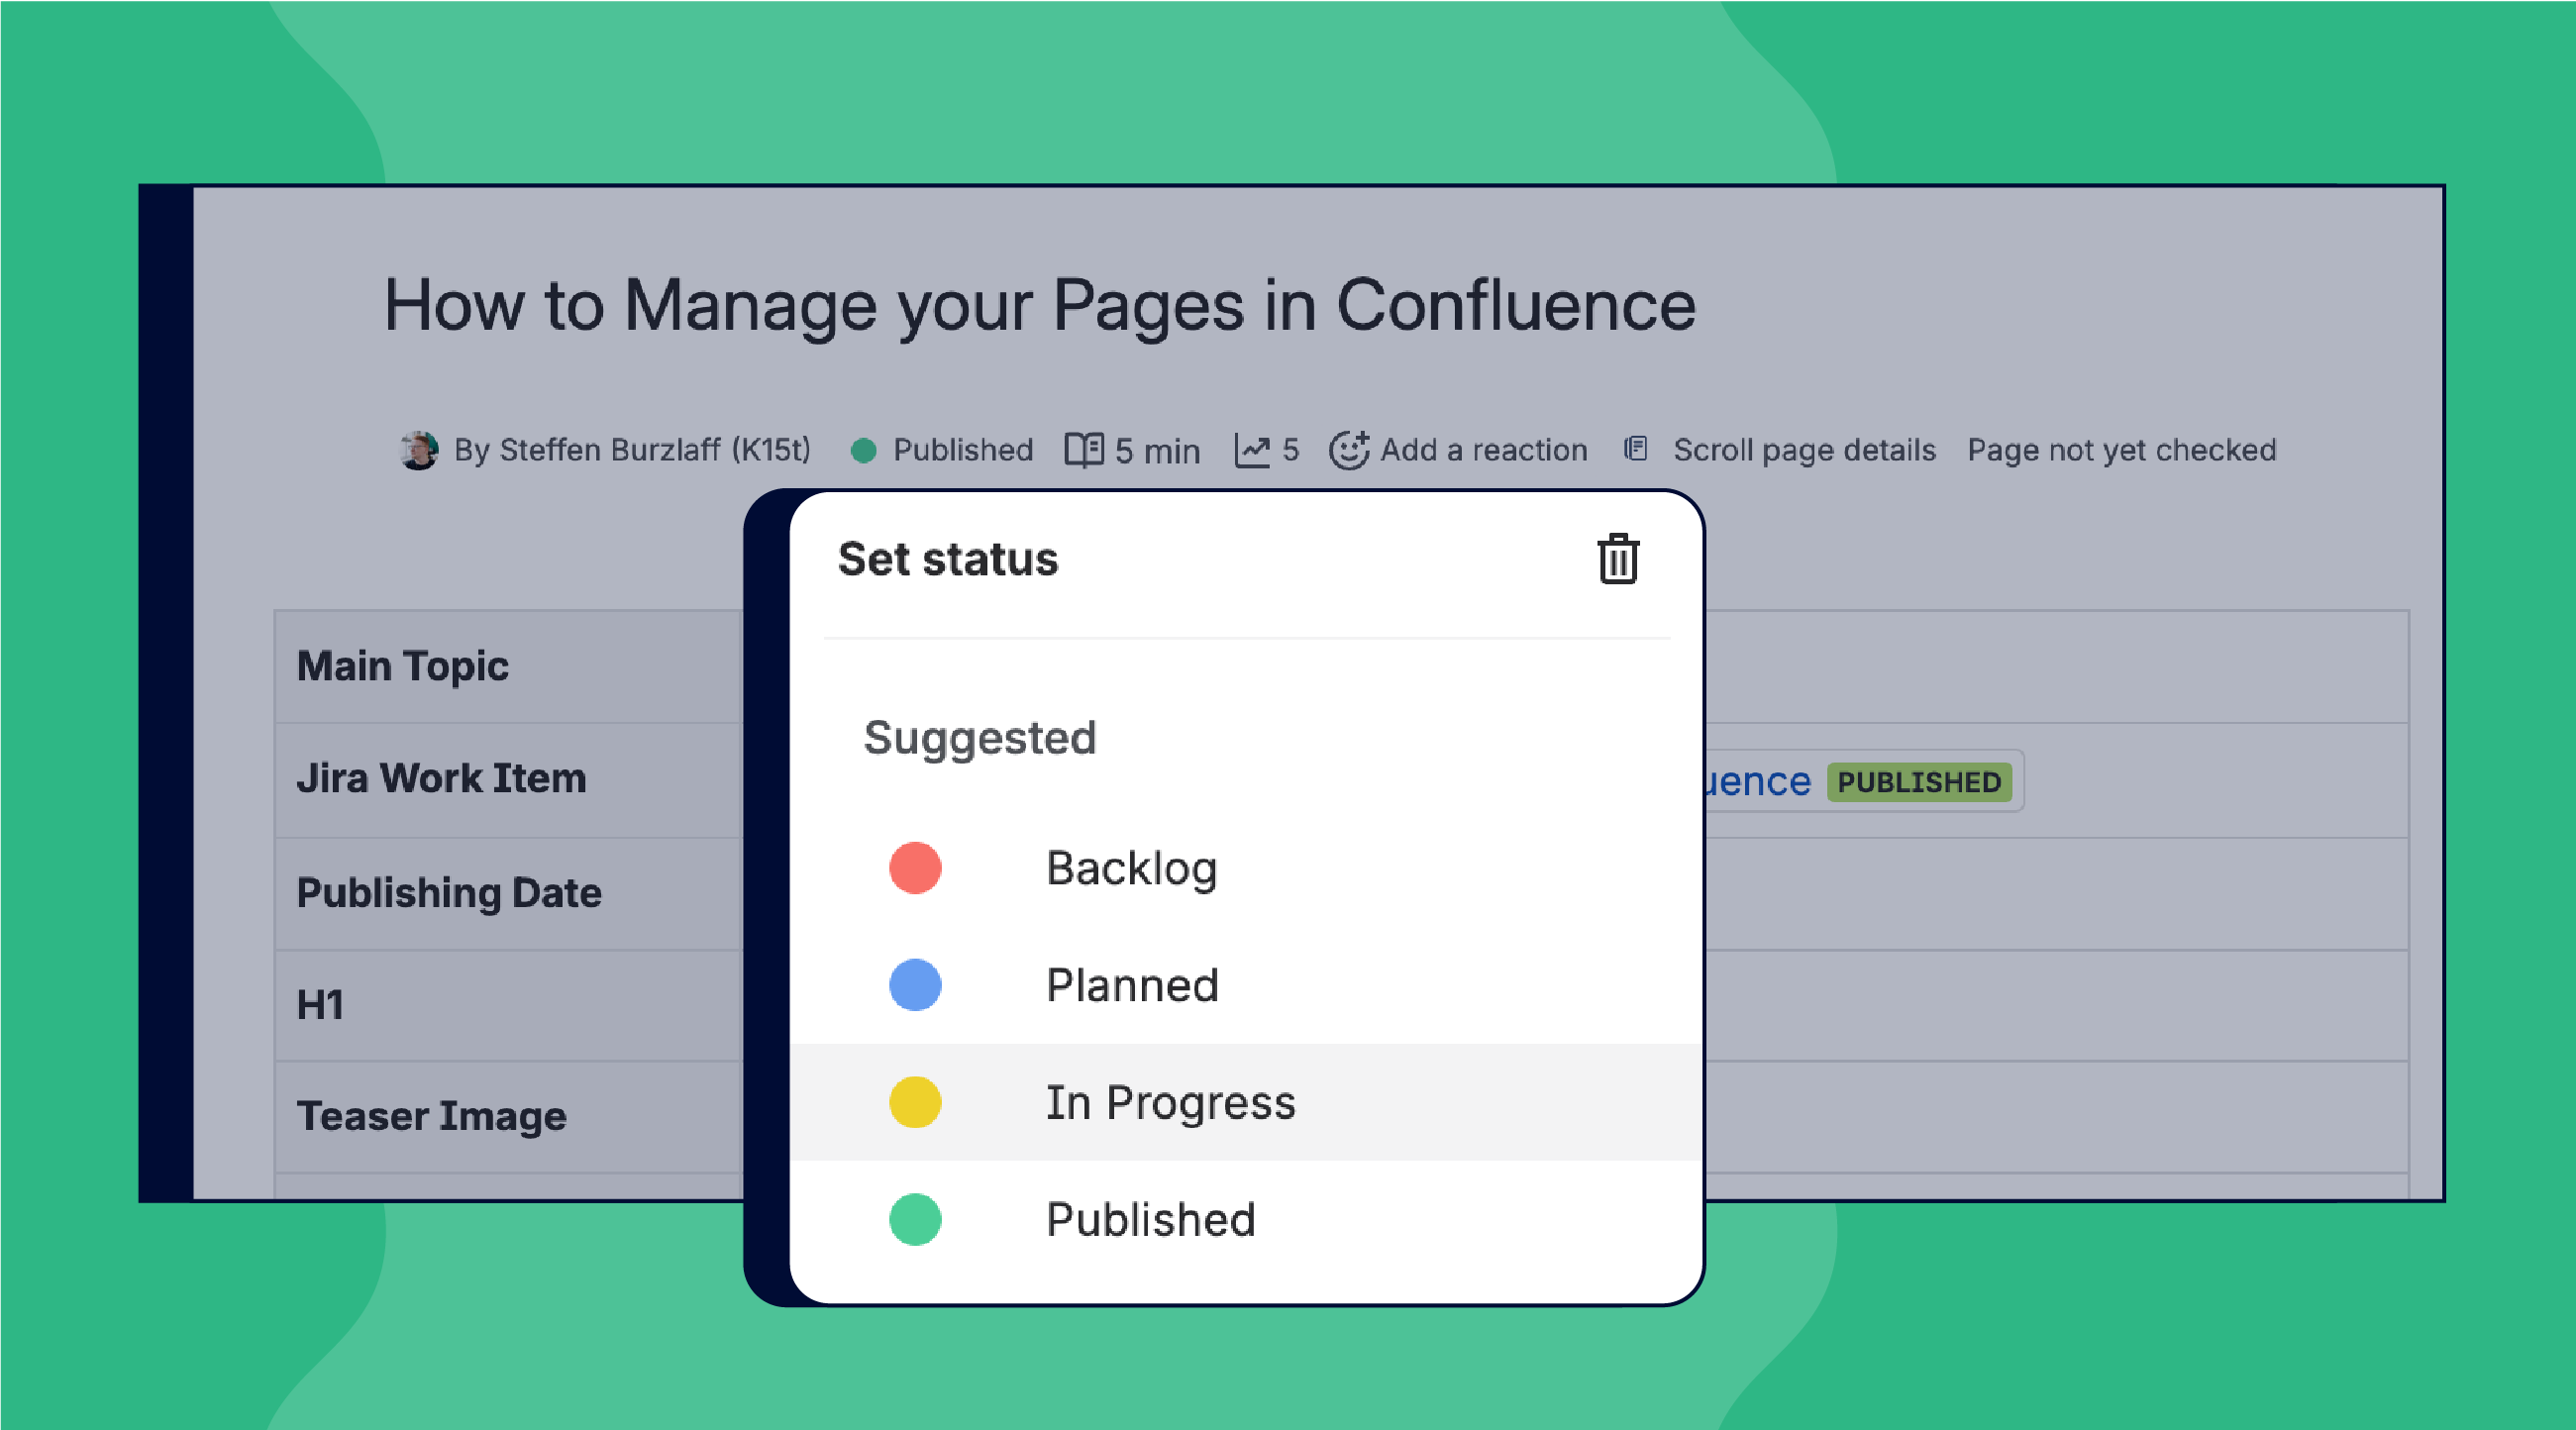
Page status in Confluence is often treated like a progress sticker, something nice to look at, but easy to ignore.
In reality, page status can be a powerful trigger for automation. With the right setup, a single status change can move pages, notify teams, and keep workflows in sync automatically.
Approval Workflow (No App Required)
Let’s say you’ve just finished a page and set its status to Approved. Normally, you’d have to manually move it to the “Published” section, update labels, and notify your team.
With automation, you can let Confluence handle it:
-
Trigger: When page status changes to Approved…
-
Action: … Confluence automatically moves the page to your “Approved” or “Published” section.
Bonus actions:
-
Add a label like Approved for easy searching.
-
Send a notification to stakeholders.
-
Restrict edits so only certain people can make changes.
Move Pages Only When It Adds Meaning
Moving pages on status change is powerful, but only when the new location communicates something meaningful, like ownership, visibility, or lifecycle stage. If moving a page doesn’t add clarity, consider using labels or restrictions instead. Automation should always make your workspace simpler, not more confusing.
👉 You can read more best practices in our article on Confluence automations.

Moving pages is a great starting point, but it’s far from the only outcome a status change can trigger.
More Things You Can Trigger With Page Status
You can also use page status to:
-
Copy instead of move.
Use one space for drafts and automatically copy approved pages between spaces. -
Trigger publishing workflows.
Add labels, sync content, or publish externally when the status changes. -
Keep tools in sync.
Update or close related Jira work items when a page is marked Done. -
Work with Marketplace apps.
Many apps use page status as a trigger for their own workflows.
New to Automation? Start With Rovo
Confluence gives you a few different ways to build automation rules:
-
Use a template to get started quickly with common scenarios.
-
Start from scratch if you already know exactly what you want.
-
Or simply ask Rovo for help.
Below, you can see the Automation screen in Confluence, including the option to create rules with Rovo.
.png?cb=5a04690134c24dc911557b5d72e8efc0)
With Rovo, you can describe your goal in plain language, for example: “When a page status changes to Approved, move it to the Published section and notify the team.”

Rovo can help turn that intent into a draft automation rule you can review, adjust, and refine. You’re still in control, but you don’t have to start from scratch.
Want to See Automations in Action?
Our video walks you through triggers, conditions, and best practices, so you can build automation rules that actually scale.

Automation Gets Smarter With Nested Conditions
Atlassian just dropped a new automation feature for Confluence: you can now connect actions to nested conditions inside IF-ELSE blocks. If you’re already building advanced automation rules, this is a big deal. If you’re not, it might be time to see what automation can do for your team.
Saying Goodbye to the Legacy Editor
In case you missed our announcement last week, the Legacy Editor is being phased out. Starting January 21, 2026, you’ll no longer be able to create new pages with it, and on April 1, 2026, all remaining legacy pages will be automatically converted to the Cloud Editor.

Sharing Your Knowledge with Confluence and Loom

Missed our live session with Sasha Rappaport (Atlassian)? You can still watch the recording.
In this talk, we explore how quick Loom videos can become shared, searchable knowledge in Confluence. See how AI helps transcribe, organize, and reuse your content — without adding extra work for your team.
Benefit from Monthly Confluence Tips

Join our Monthly Dose of Confluence newsletter and discover smarter ways to work, publish, and collaborate in Confluence.